Load Balancer Actions
A Load Balancer includes a Virtual IP Address (VIP) that allows users to access your application. Incoming traffic is distributed across backend servers according to the specified load balancing algorithm.
Pre-Creation Planning
- An active Vietnix Cloud account
- A project with sufficient resources
- A virtual network with sufficient IP addresses
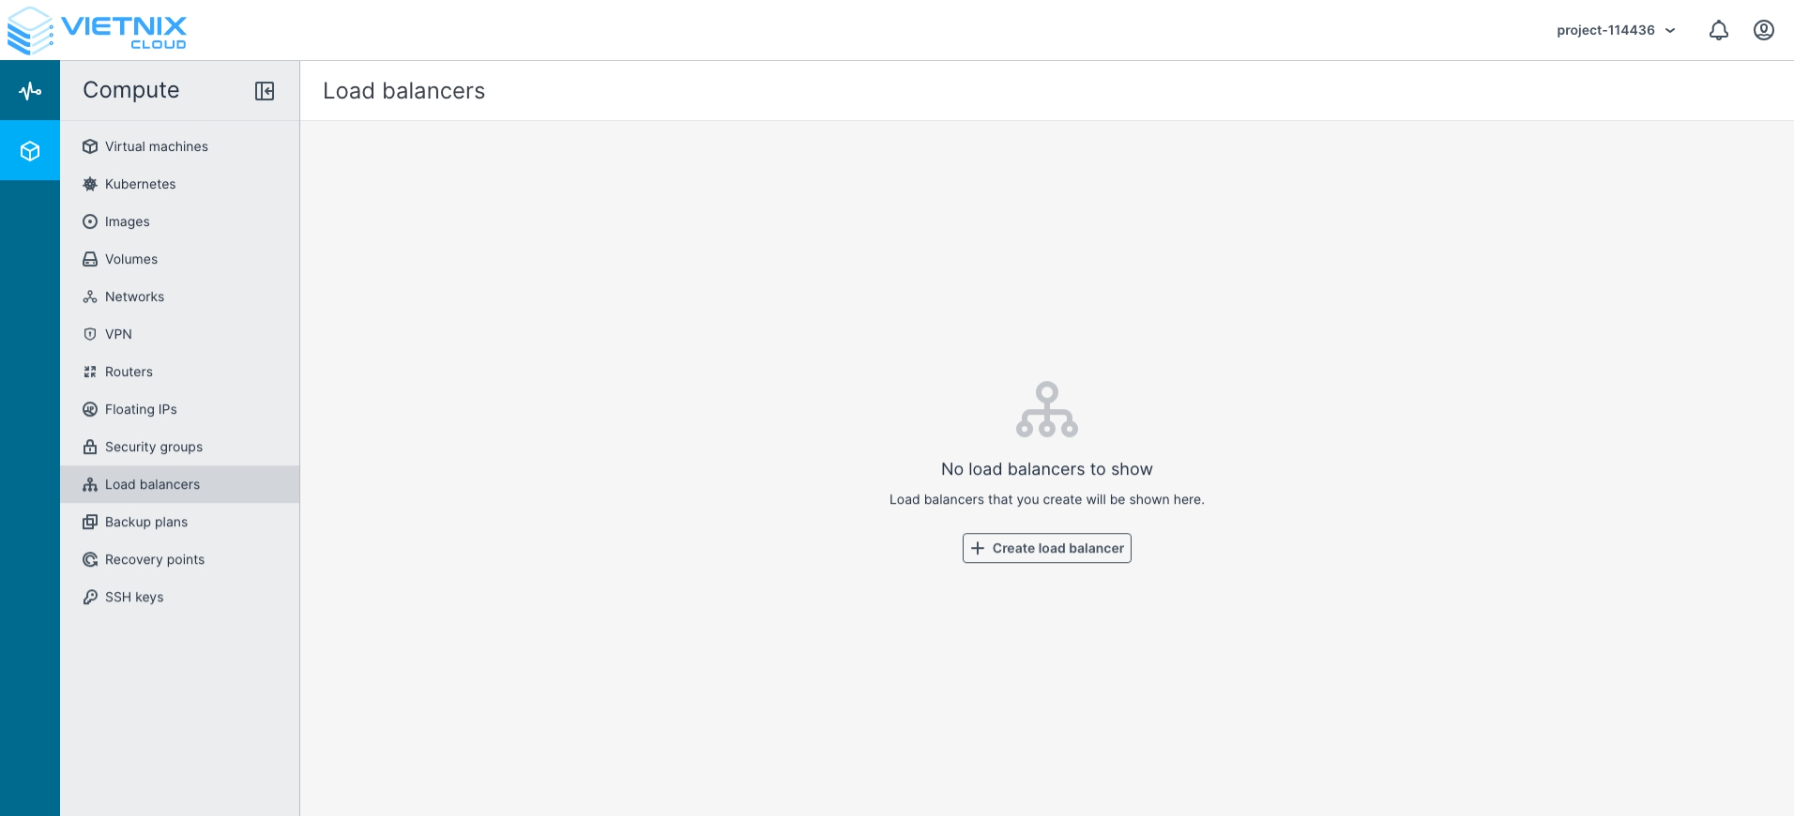
Create Load Balancer
-
Login to Vietnix Cloud Dashboard
-
Navigate to Compute > Load balancers
-
Click Create Load balancer
-
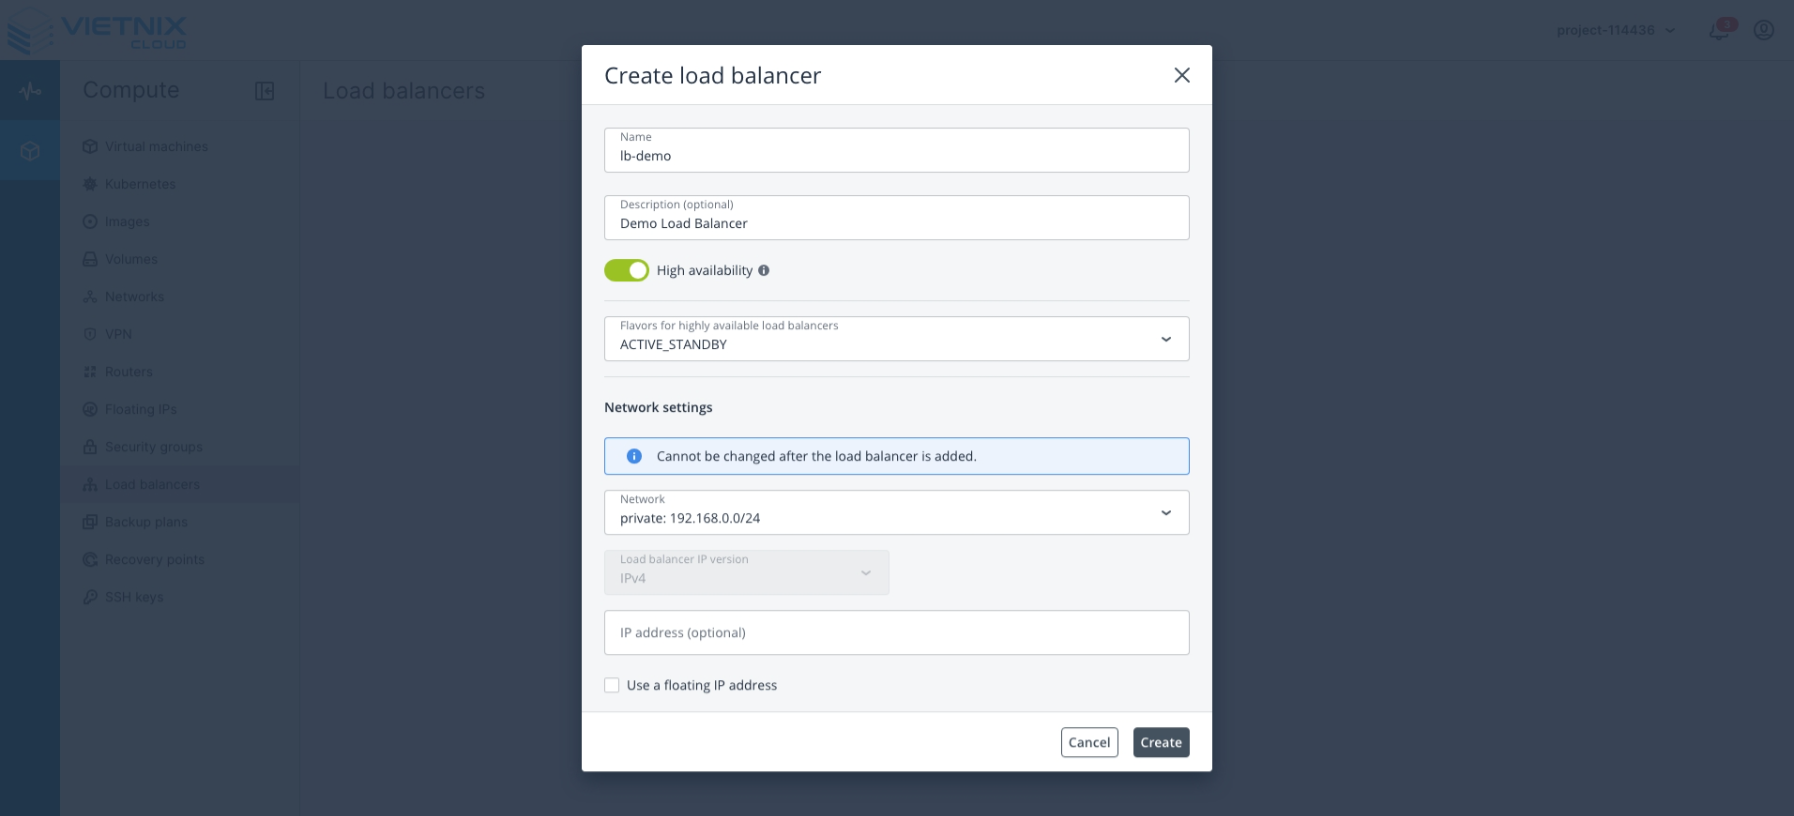
Configure the Load Balancer according to your requirements
- Name: Enter a name for the Load Balancer.
- Description (Optional): Enter additional description information for the Load Balancer.
- High Availability:
- SINGLE: No redundancy.
- ACTIVE-STANDBY: With redundancy. Failover is performed faster and ensures higher availability compared to the SINGLE architecture.
- Network: Select the network you want to use. The Load Balancer will be applied to this network.
- Use a Floating IP Address: Assign a public IP to the Load Balancer. If left unchecked, a new Floating IP will be allocated automatically
- Click Create to deploy the Load Balancer.
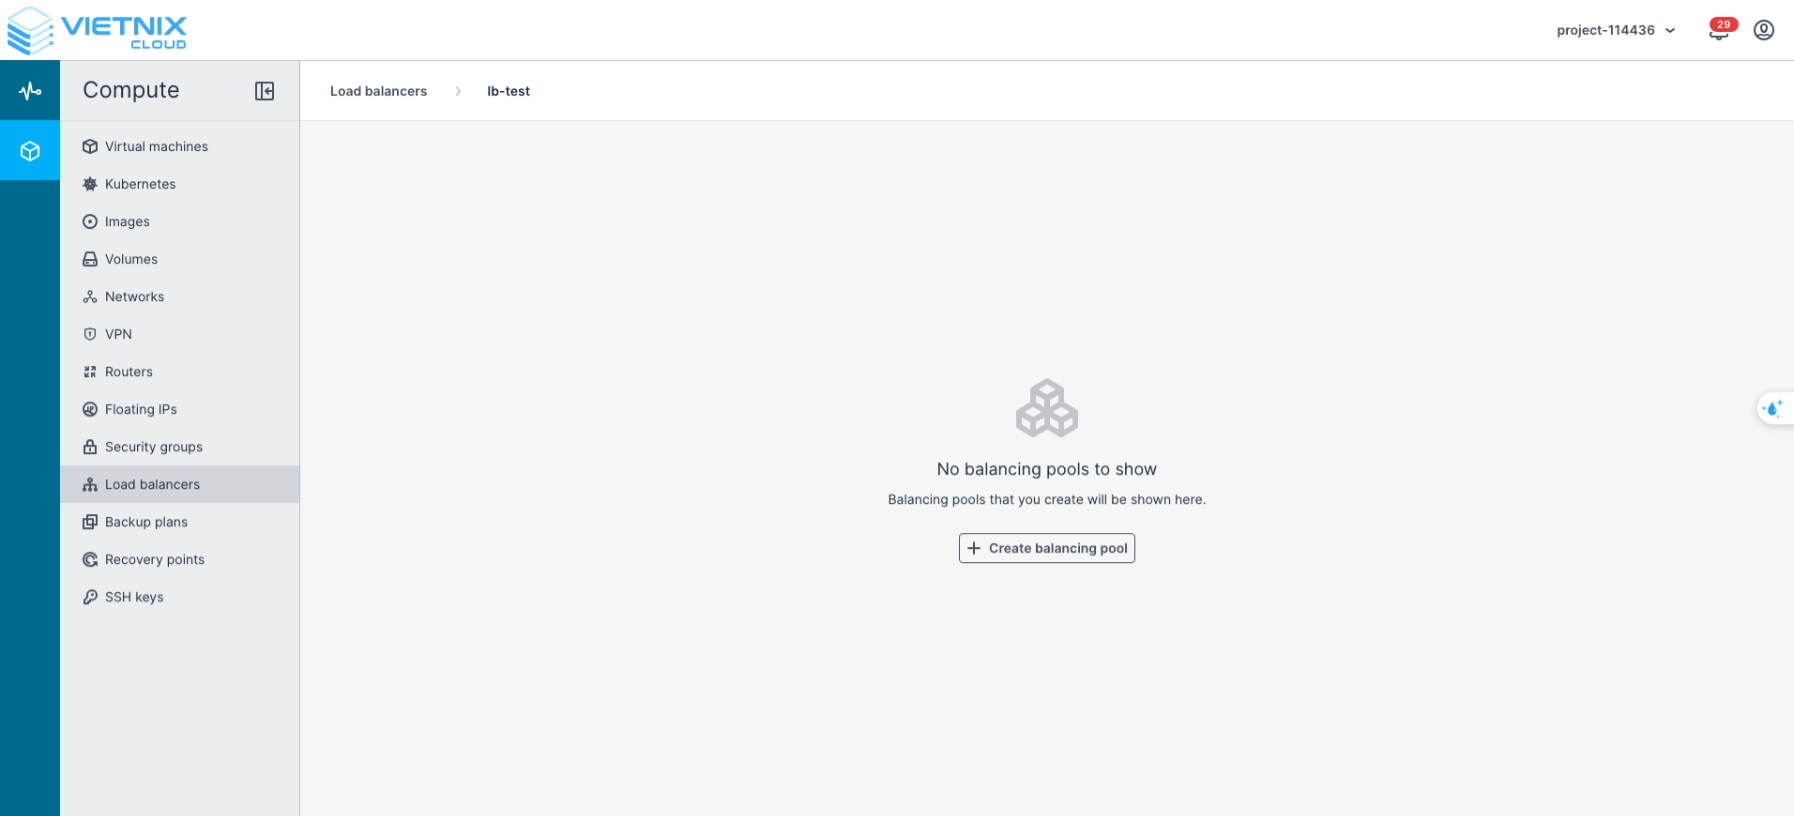
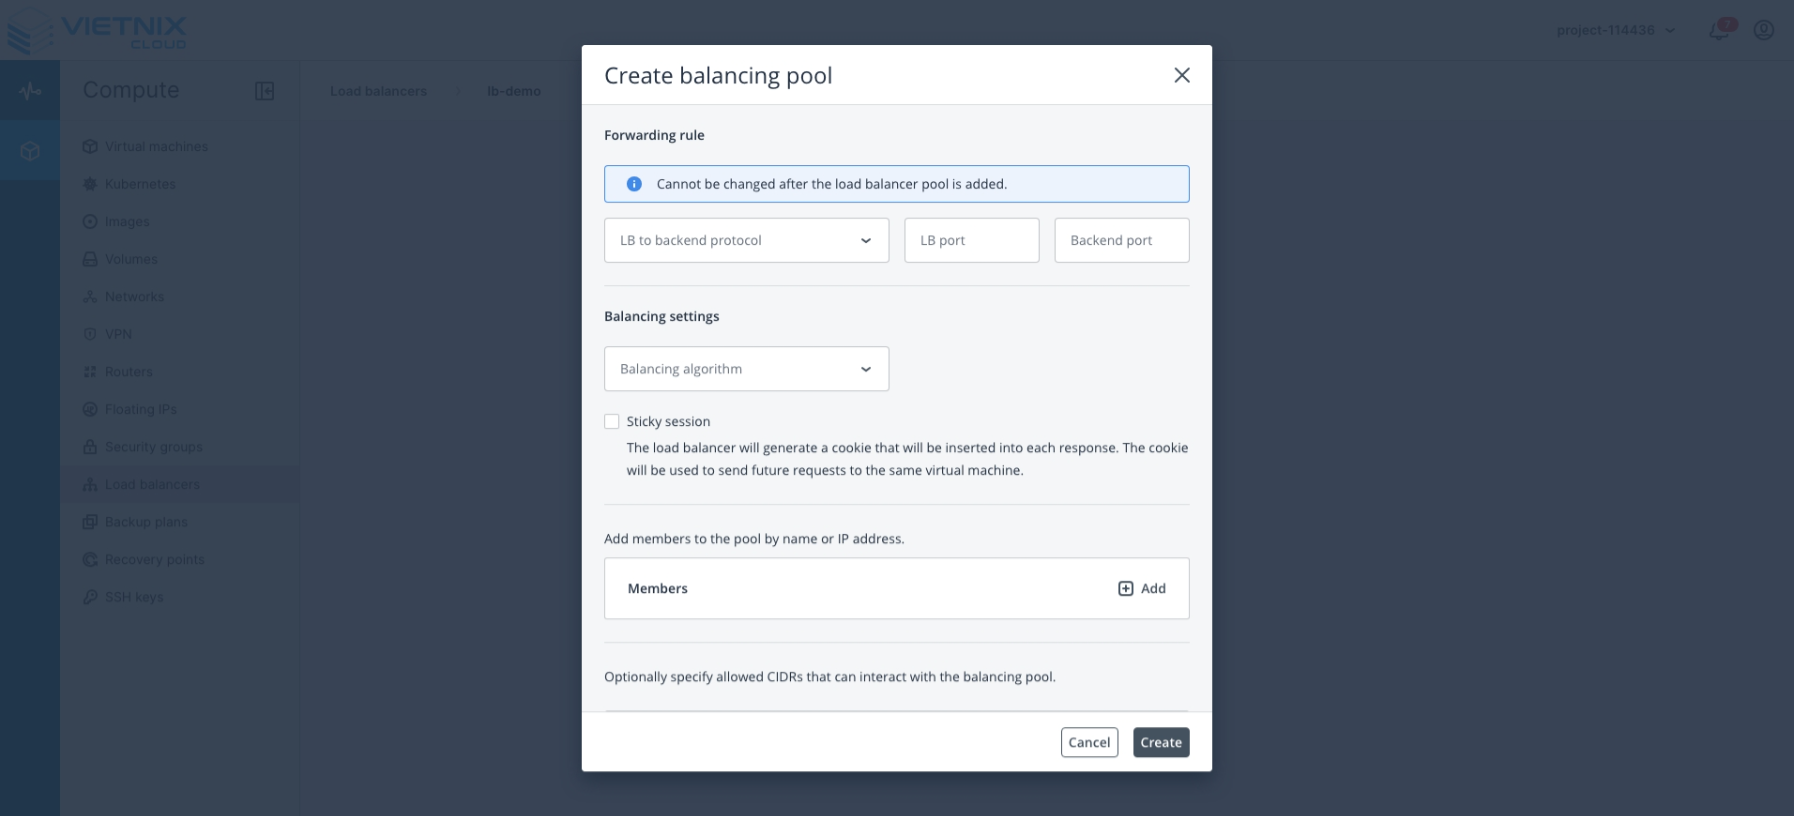
Create Balancing pools
-
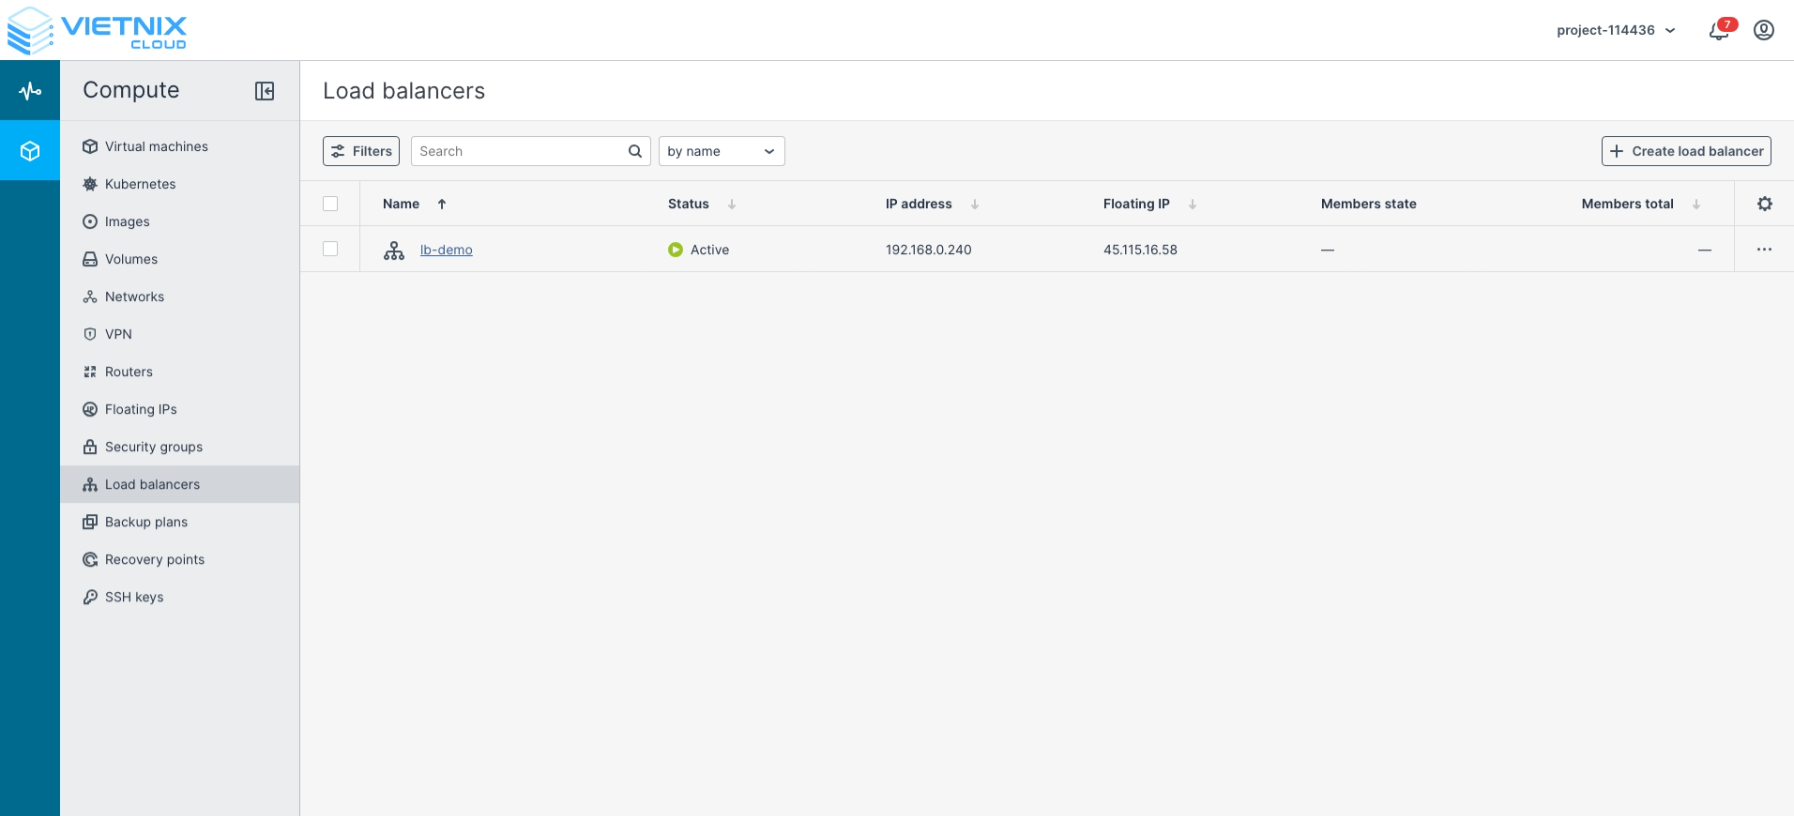
After creating the Load Balancer
-
Select the Load Balancer you have just created
-
Click Create Balancing Pool
-
Configure the Balancing Pool:
- LB to Backend Protocol: Select the protocol to use (HTTP, HTTPS, Terminated HTTPS, TCP, UDP).
- LB Port: The port on the Load Balancer that receives incoming traffic.
- Backend Port: The port on the backend server to which the Load Balancer forwards traffic.
- Balancing Algorithm:
- Least Connection: Distributes traffic to the server with the fewest active connections.
- Round Robin: Distributes traffic sequentially across all servers.
- Source IP: Distributes traffic based on the source IP address, ensuring session persistence.
- Members: Define the backend servers (members) that will participate in this balancing pool.
- Health Monitor: Configure health checks for the members. Supported protocols include HTTP, HTTPS, and TCP Ping.
- Click Create to confirm and deploy the balancing pool.
-
Confirm the configuration is complete
Once complete, you can now access the backend members through the Load Balancer using the assigned Floating IP and the configured protocol.
-
Troubleshooting Health Checks
If you encounter issues with the health checks in step 5, consider the following:
- Verify Health Check Protocol: Make sure you are using the correct protocol for the backend servers (HTTP, HTTPS, or TCP Ping).
- Check Security Groups: Ensure that the security groups associated with your backend VMs allow the required traffic.
- For example, if ICMP traffic is blocked in the inbound rules, using Ping as a health check will fail.
- Similarly, ensure that HTTP/HTTPS ports are open if using those protocols for health checks.
- Backend Server Status: Confirm that the backend servers are running and reachable from the Load Balancer’s network.
- Logs and Metrics: Use the Load Balancer logs or monitoring metrics to identify failed health checks and troubleshoot accordingly.
Balancing Algorithm Guidelines
| Algorithm | Best For | Description |
|---|---|---|
| Round Robin | General use cases, evenly distributed workloads | Distributes traffic sequentially across all backend servers in order. |
| Least Connection | Applications with varying session lengths or uneven traffic loads | Routes traffic to the server with the fewest active connections to optimize resource usage. |
| Source IP | Session persistence, user-specific applications | Ensures a client with the same source IP is always directed to the same backend server. Useful for apps requiring sticky sessions. |
What's Next?
- Add Member to Load Balancer - Learn how to Add Member to Load Balancer in Vietnix Cloud
- Add Allowed CIDRs - Learn how to Add Allowed CIDRs in Vietnix Cloud