Create Network
tip
Vietnix Cloud have a default physical network, so you just create virtual network.
Create Virtual Network
To create a new virtual network in Vietnix Cloud, follow these steps:
- Navigate to Network in the left sidebar.
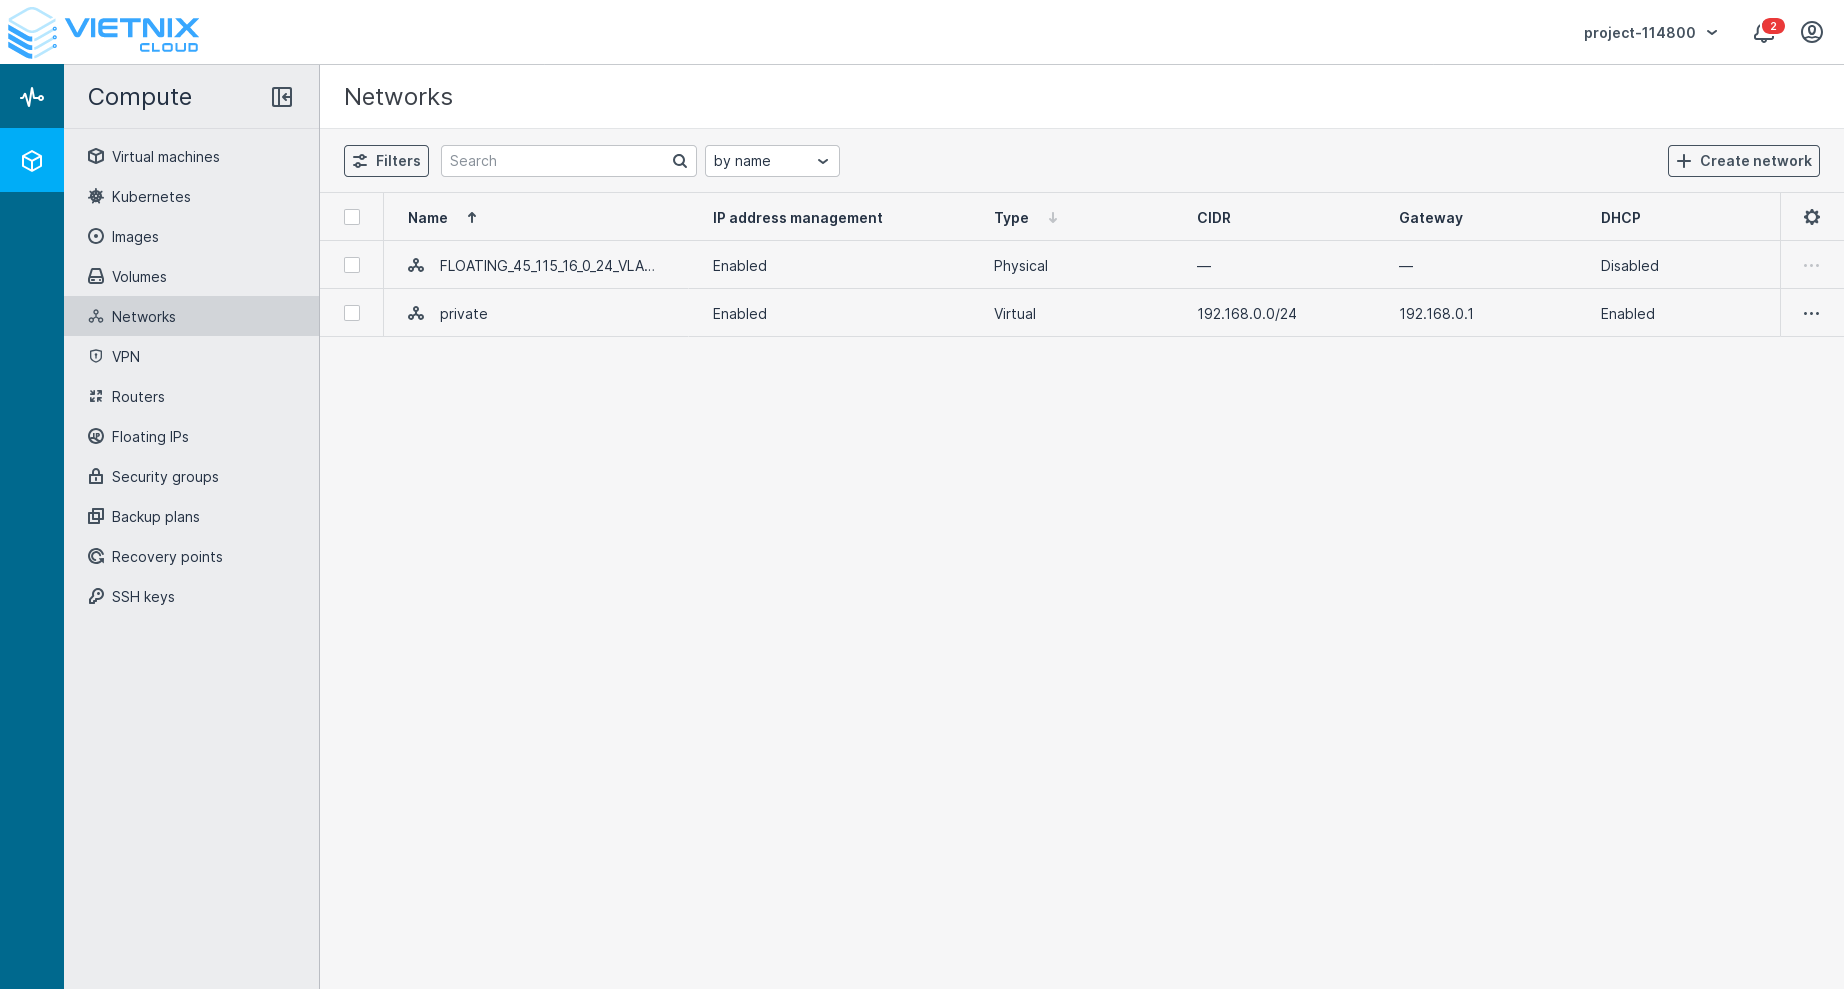
- Click on the Create Network button.
- Fill in the required details in the Create Virtual Network form:
a. Name: Enter a name for your network.
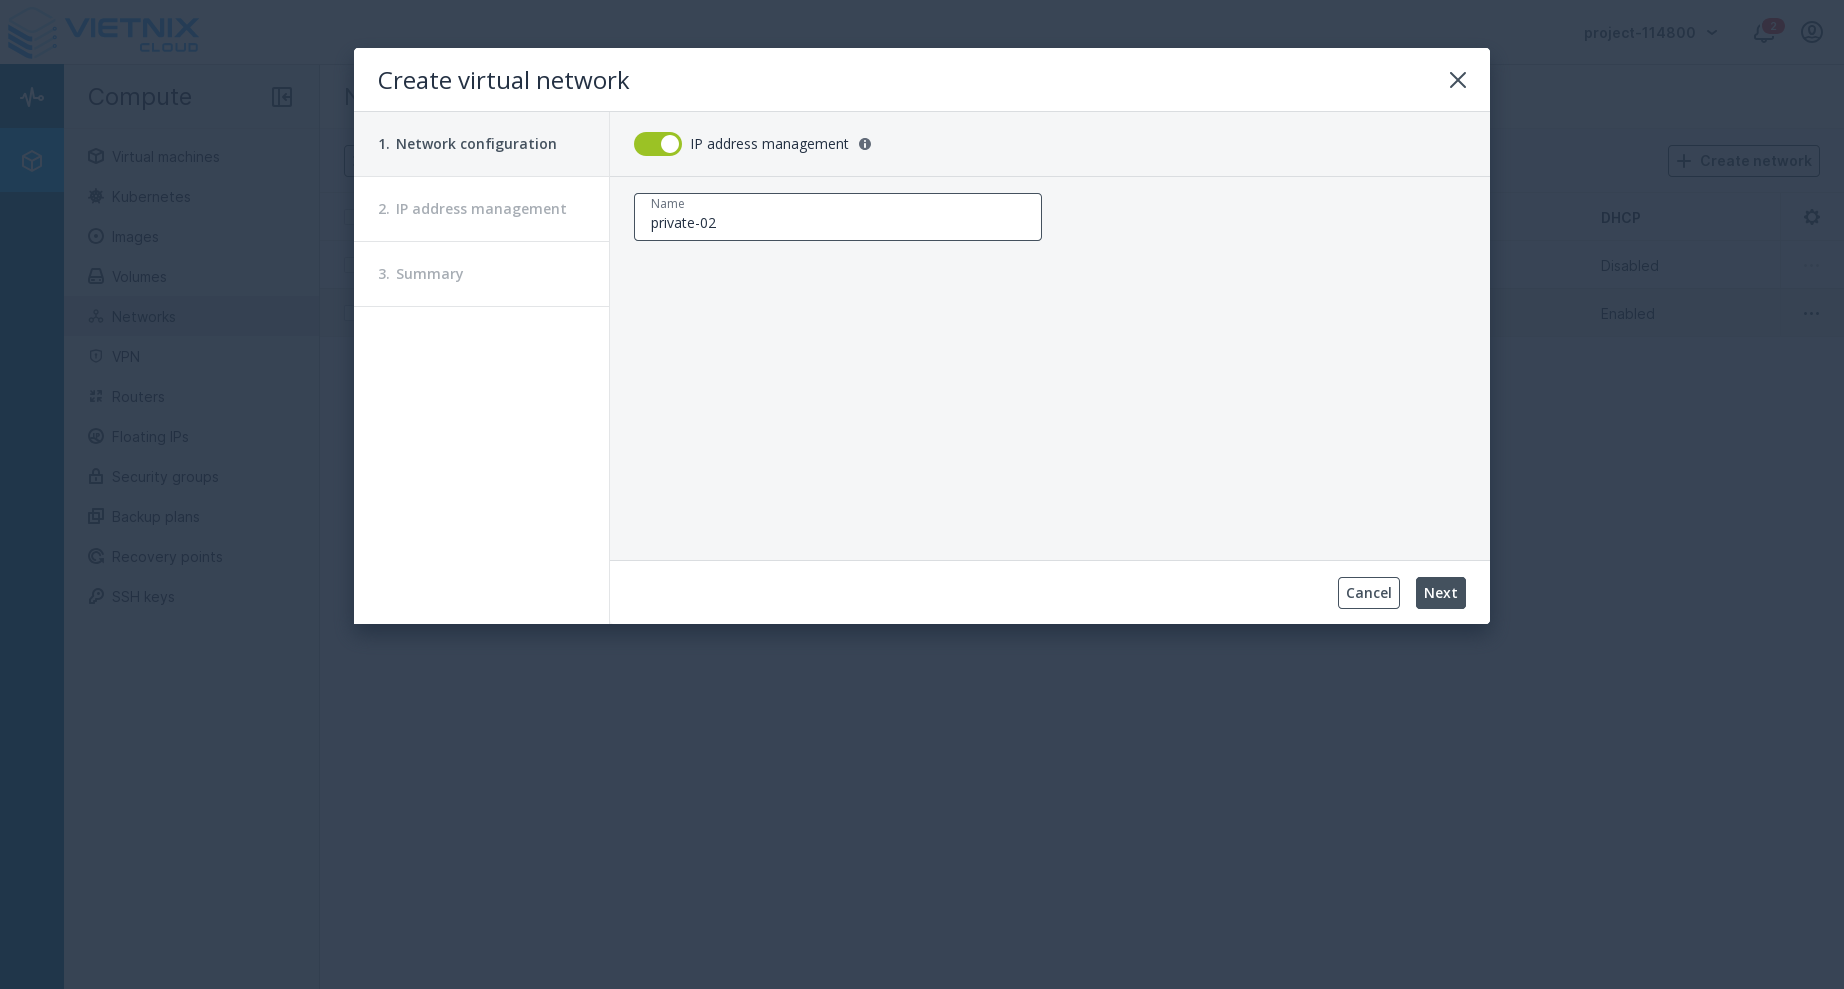 After that, press next.
b. Ip Address: After entering name for new network, specify the subnet in CIDR notation (e.g., 192.168.1.0/24).
After that, press next.
b. Ip Address: After entering name for new network, specify the subnet in CIDR notation (e.g., 192.168.1.0/24).
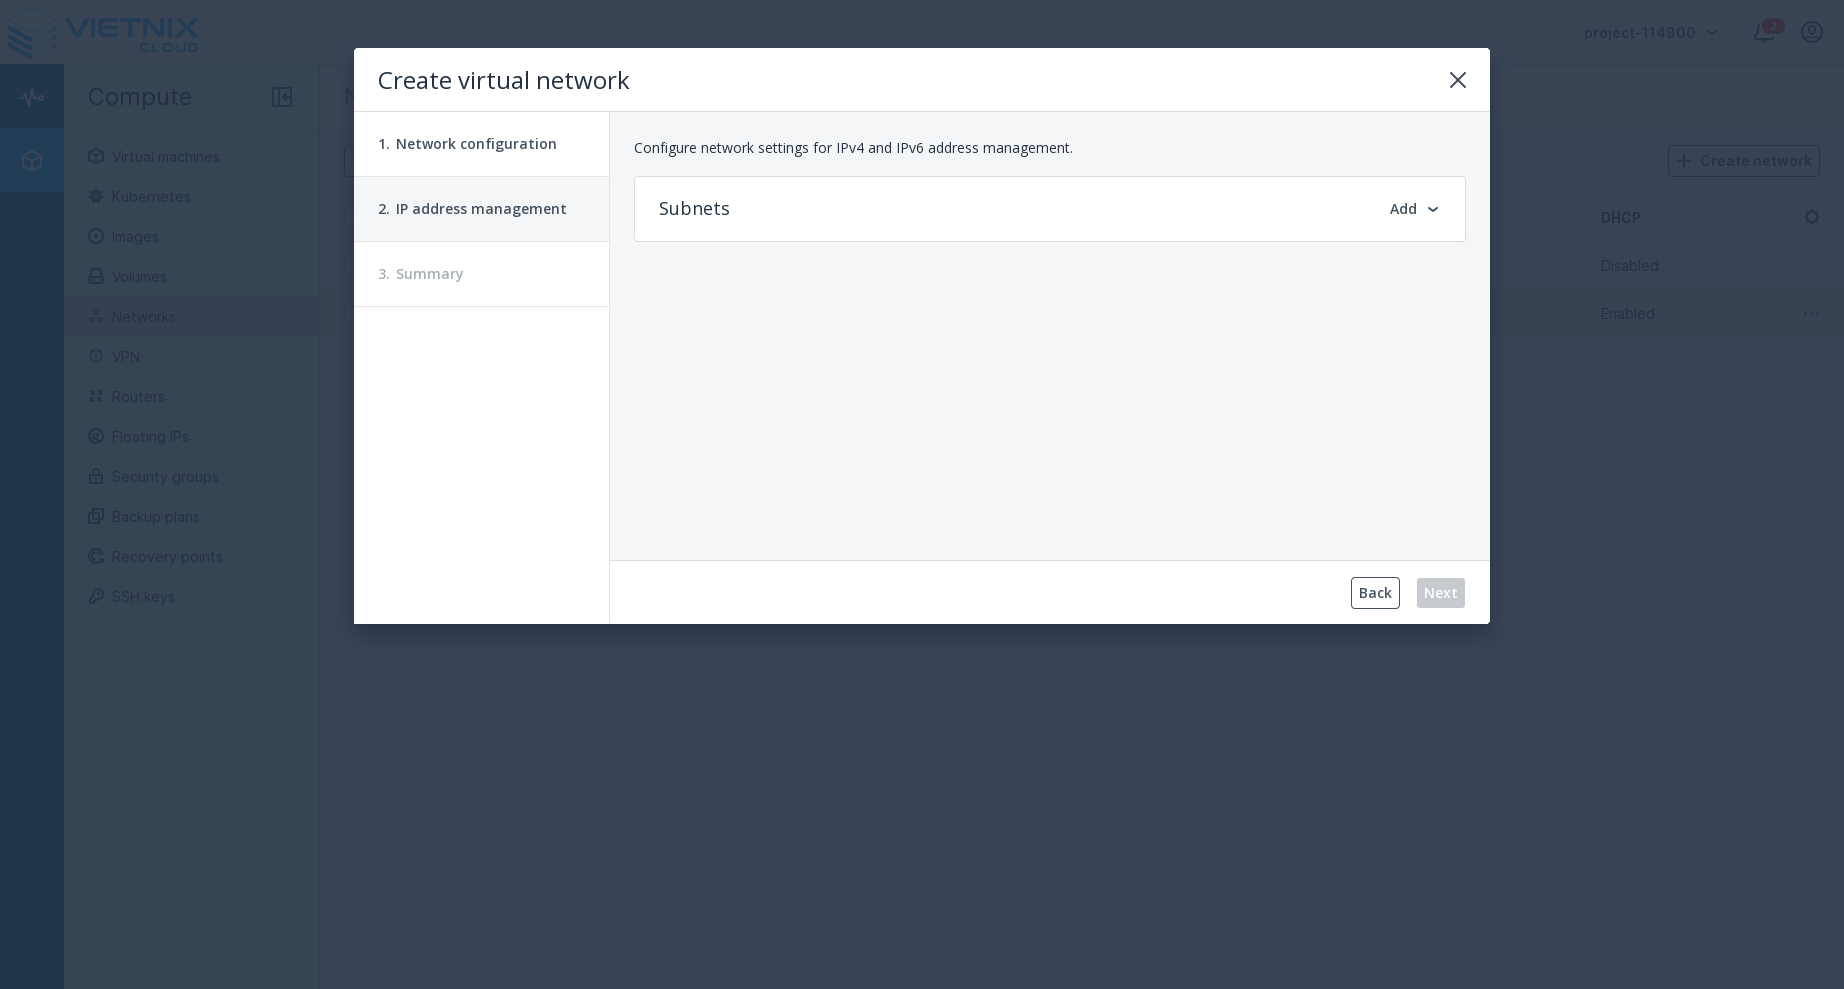 Press Add to add Ipv4 subnet.
 Fill in the required details and press Add.
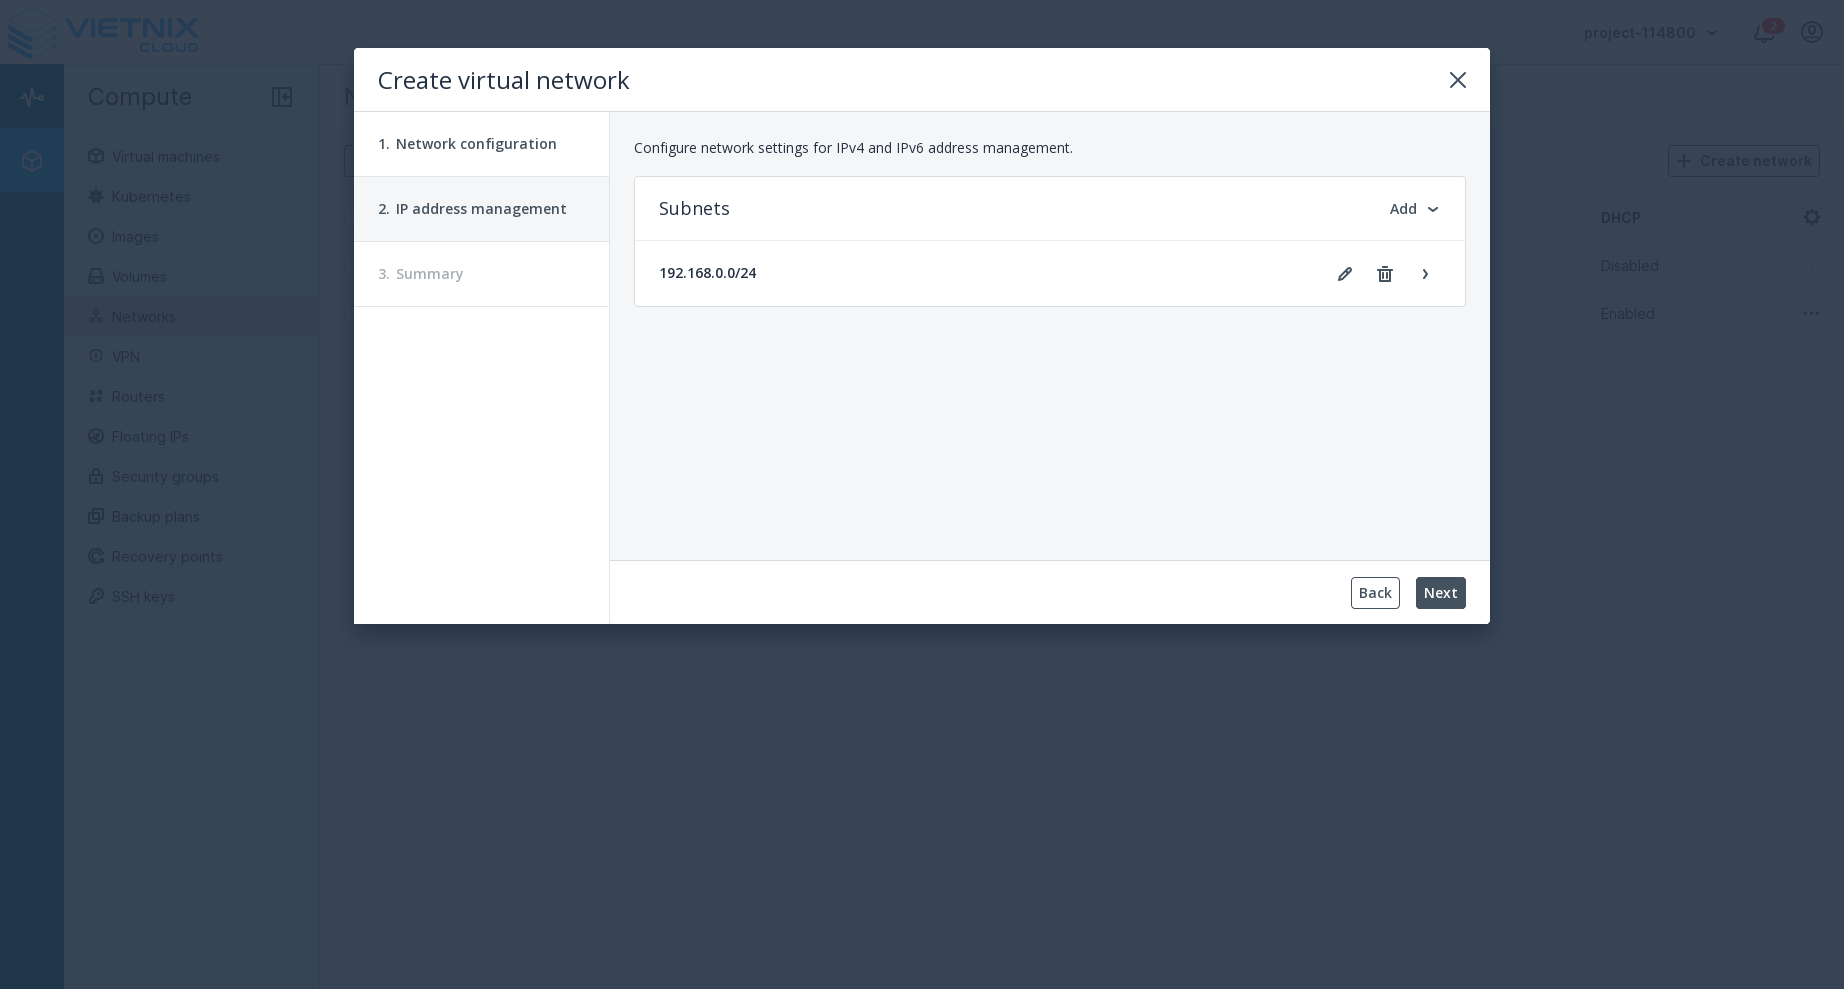 After have added subnet, press Next.
c. Summary: Review the details of your new network.
After have added subnet, press Next.
c. Summary: Review the details of your new network.

- Click Create Virtual Network to finalize the creation of your network.
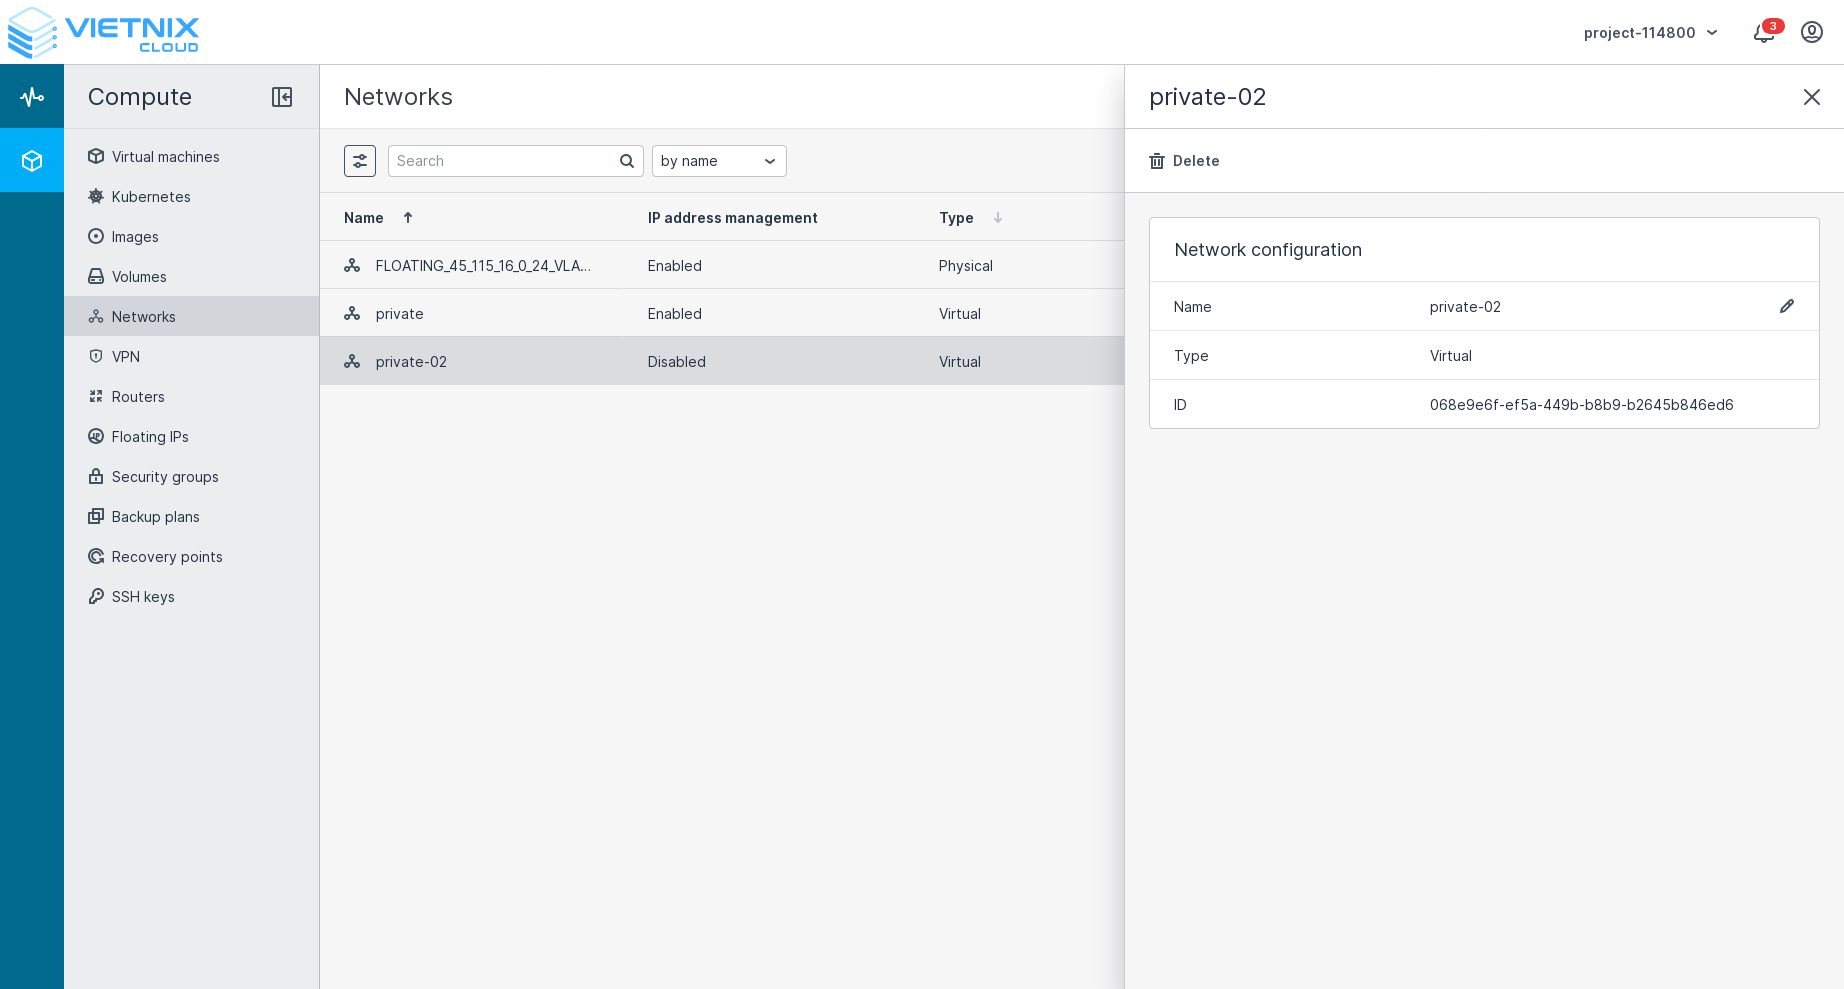
Your new virtual network will now appear in the list of networks. You can manage and configure it as needed.
What's Next?
- You can create a router to connect your virtual networks to external networks. Learn how to Create Router.
- You can attach or detach networks to/from your virtual machines. Learn how to Attach Network and Detach Network.
- You can manage Floating IPs for your virtual machines. Learn how to Floating IP.