Create Snapshot
This guide will help you create snapshots of your volumes in Vietnix Cloud.
Prerequisites
- An active Vietnix Cloud account
- A volume that you want to snapshot
- Access to the Vietnix Cloud dashboard
What is a Snapshot?
A snapshot is a point-in-time copy of your volume data. Snapshots are useful for:
- Backup: Creating backups of your data
- Recovery: Restoring data to a previous state
- Testing: Creating test environments
- Migration: Moving data between regions
Steps to Create Snapshot
Step 1: Access Volume Management
- Navigate to Compute > Volumes

- Find the volume you want to snapshot
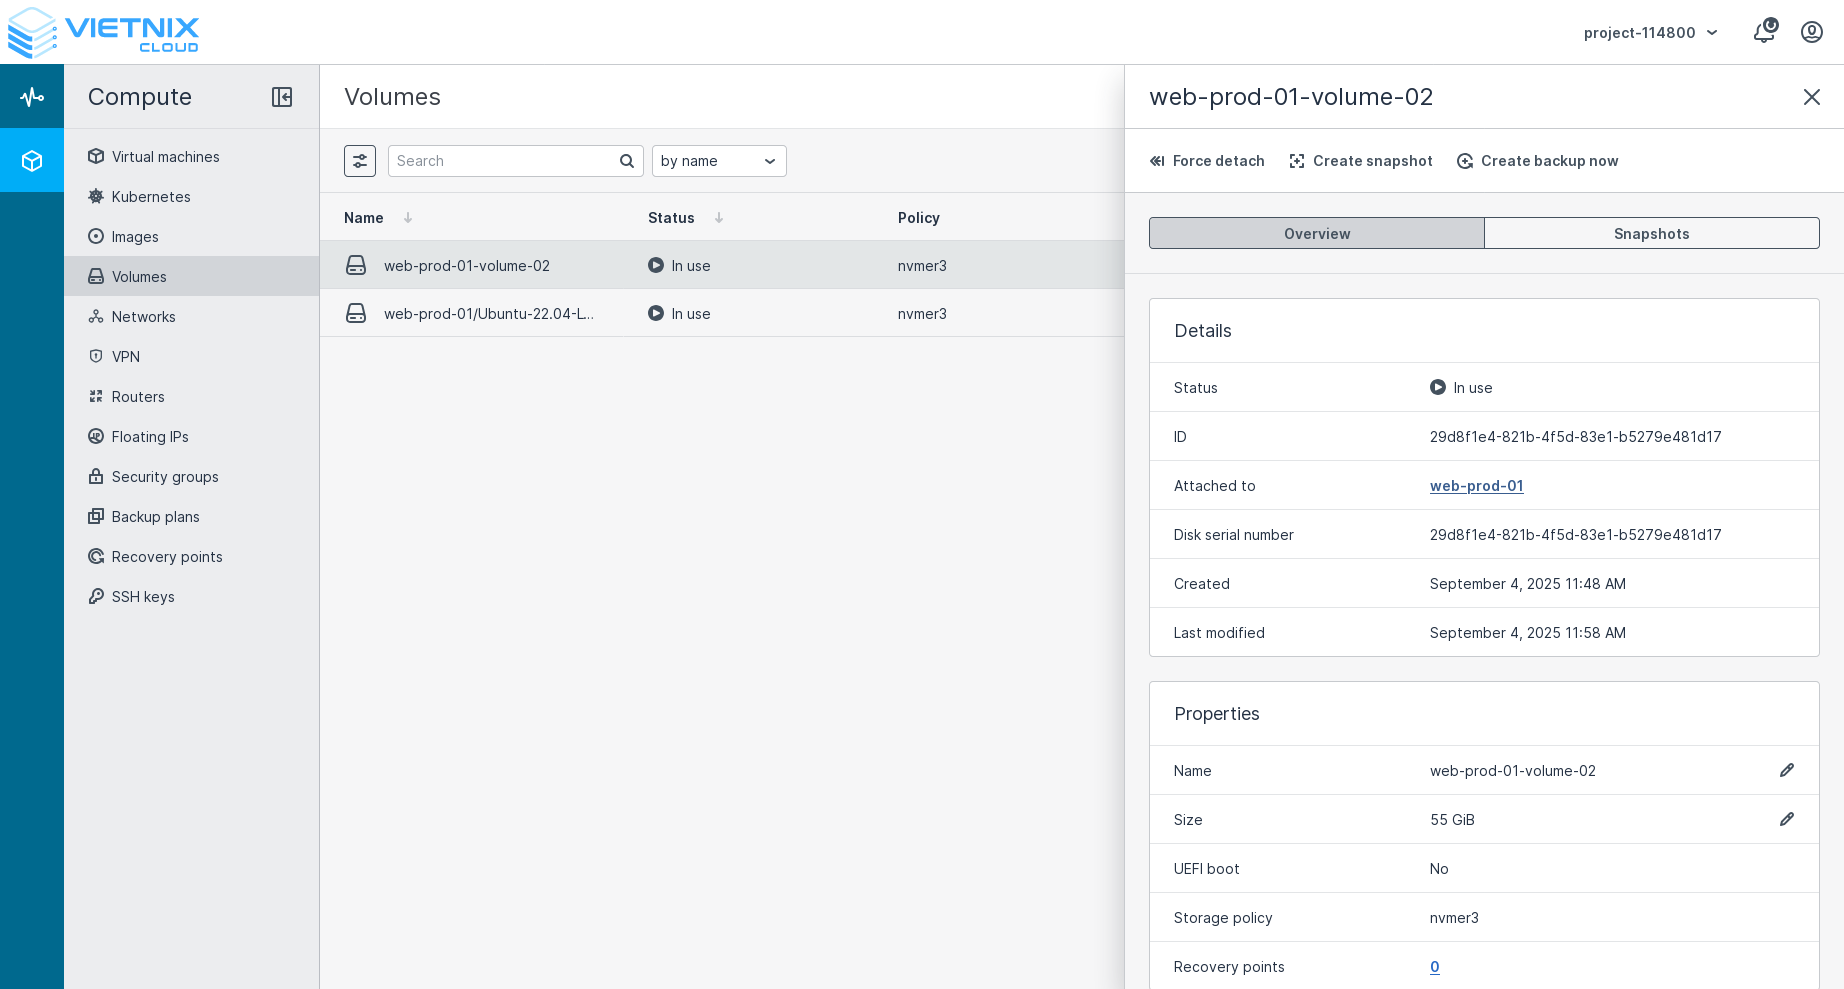
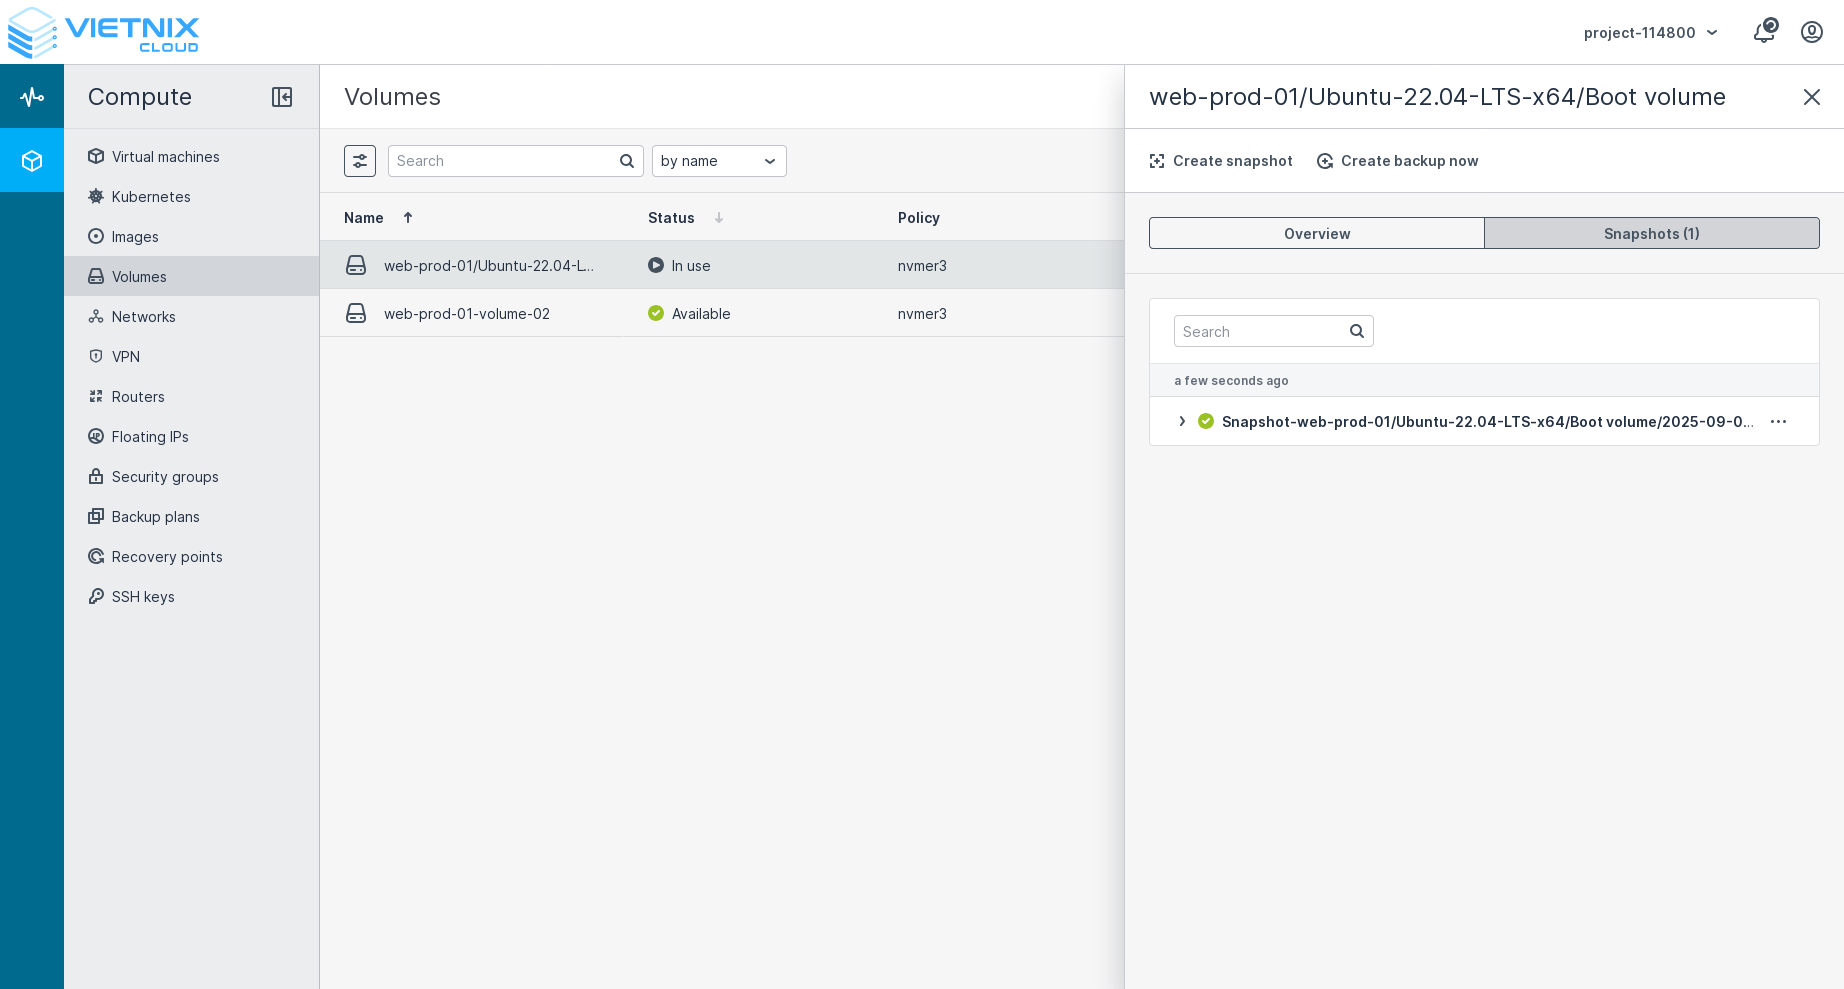
Step 2: Create Snapshot
- Click on the volume name to open details
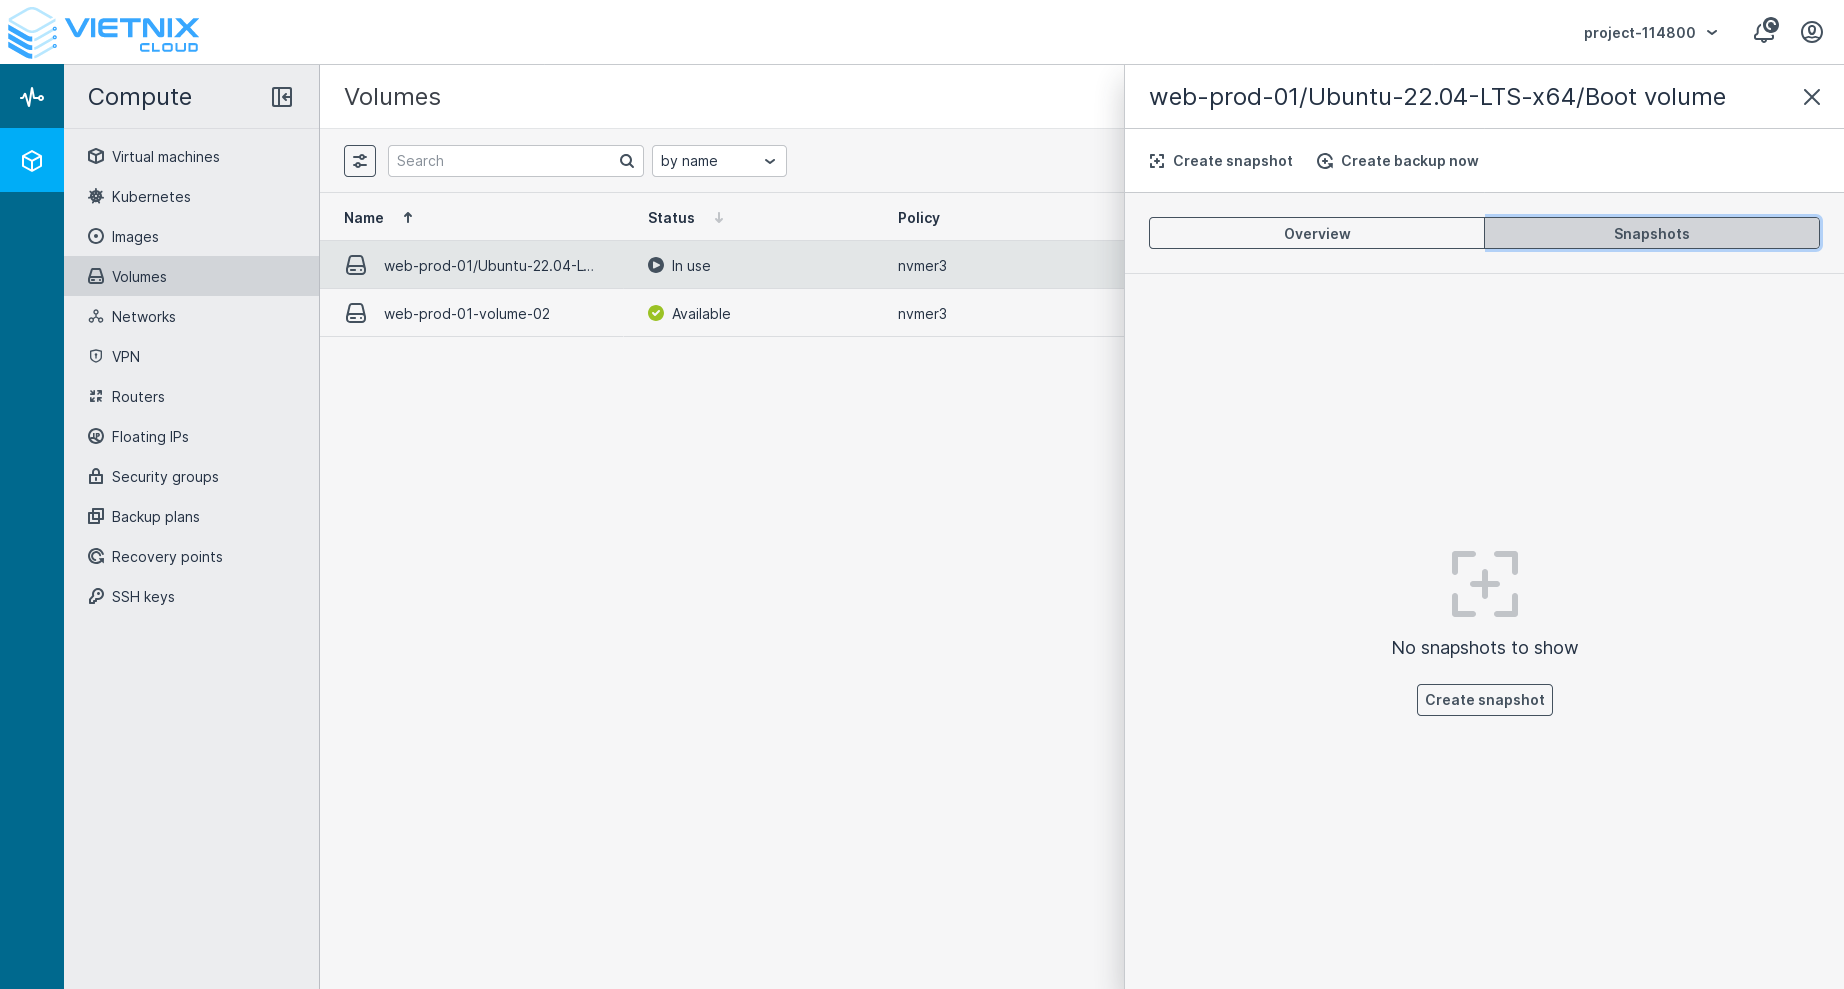
- Click Create Snapshot button
Snapshot Best Practices
Before Creating Snapshot
- Stop Applications: Stop applications that write to the volume
- Flush File System: Ensure all data is written to disk
- Check Space: Ensure you have enough storage space
Commands to Prepare for Snapshot
# Flush file system buffers
sudo sync

# Unmount volume (optional, for consistency)
sudo umount /mnt/myvolume

# Remount volume
sudo mount /dev/vdb1 /mnt/myvolume
Managing Snapshots
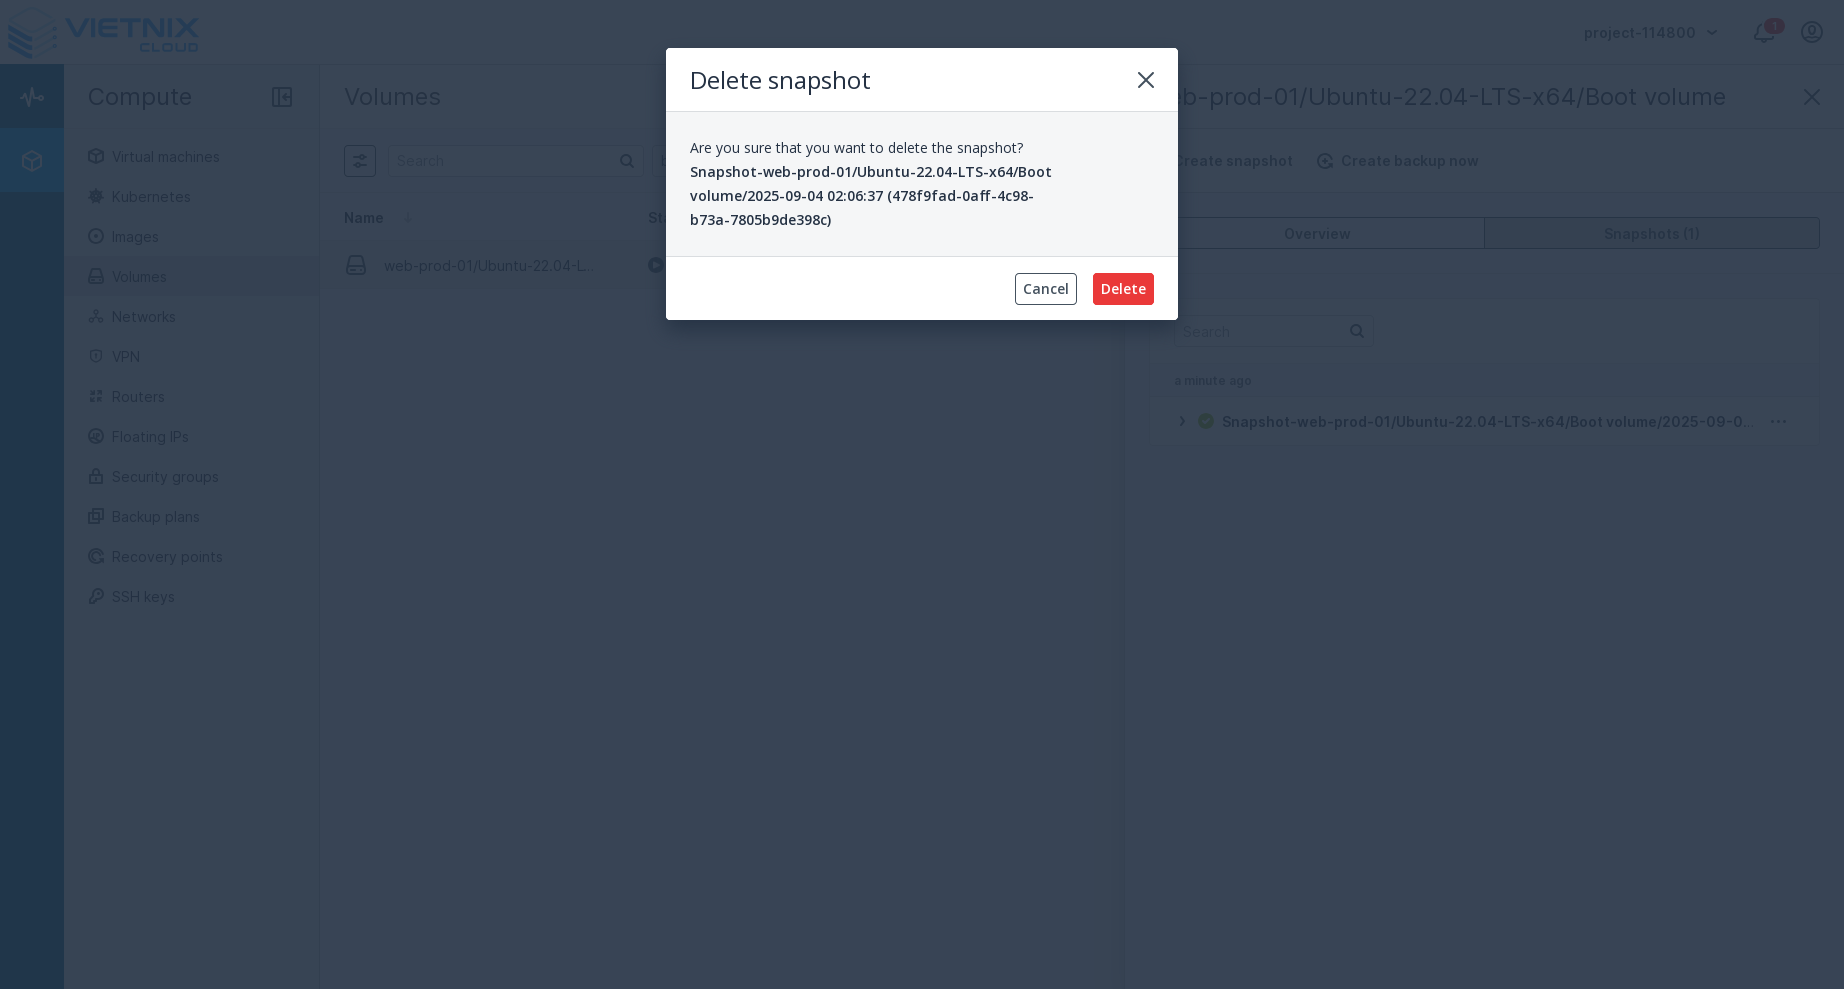
Delete Snapshot
- Select the snapshot you want to delete
- Click Delete button
- Confirm the deletion
Create Volume from Snapshot
Creating a volume from a snapshot allows you to restore your data to a specific point in time. This is useful for:
- Data Recovery: Restoring data after accidental deletion or corruption
- Testing: Creating test environments with specific data states
- Cloning: Duplicating volumes with existing data
- Migration: Moving data between different volumes or regions
Steps to Create Volume from Snapshot
-
Navigate to Snapshots
- Go to Compute > Volumes > Snapshots
- Or access from the volume details page
-
Select the Snapshot
- Choose the snapshot you want to use as the source
- Verify the snapshot details and creation date
-
Click Create Volume
- Click the Create Volume button next to the selected snapshot

-
Configure Volume Settings
- Volume Name: Enter a descriptive name for the new volume
- Size: Set the volume size (must be at least as large as the snapshot)
- Volume Type: Choose the appropriate volume type (SSD, HDD, etc.)
- Availability Zone: Select the zone where the volume will be created
-
Review and Create
- Review all settings before proceeding
- Click Create to start the volume creation process
The new volume will be an exact copy of the data at the time the snapshot was taken. Any changes made to the original volume after the snapshot was created will not be included.
You can boot a new VM with created volumes
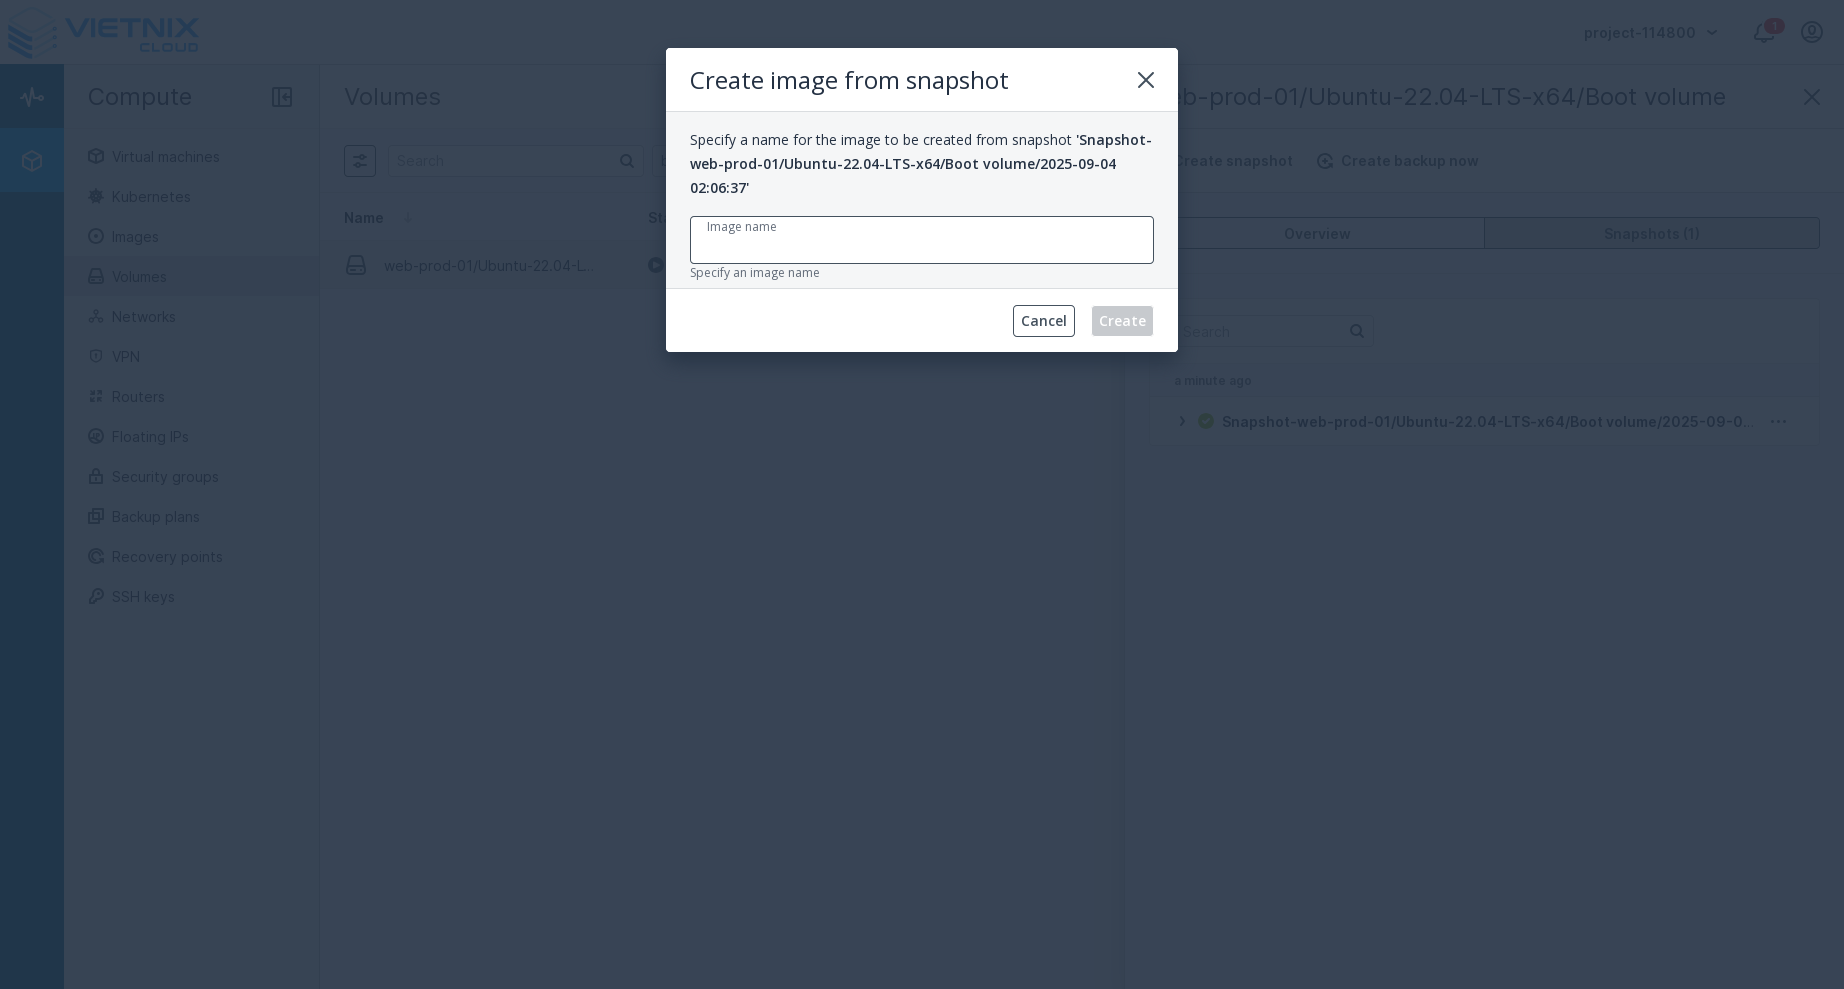
Create Image from Snapshot
Converting a snapshot to an image allows you to create a bootable image that can be used to launch new virtual machines. This is particularly useful for:
- Template Creation: Creating standardized VM templates
- Backup and Recovery: Creating bootable backups of your systems
- Distribution: Sharing pre-configured system images
- Disaster Recovery: Quick deployment of known-good configurations
Steps to Create Image from Snapshot
-
Access Snapshot Management
- Navigate to Compute > Volumes > Snapshots
- Or go to Compute > Images and select "Create from Snapshot"
-
Select the Snapshot
- Choose the snapshot you want to convert to an image
- Ensure the snapshot contains a bootable operating system
-
Click Create Image
- Click the Create Image button next to the selected snapshot
-
Configure Image Settings
- Image Name: Enter a descriptive name for the image
- Description: Provide details about the image contents
- Image Format: Choose the appropriate format (QCOW2, RAW, etc.)
- Visibility: Set whether the image is private or public
- Min Disk Size: Set the minimum disk size required for VMs using this image
-
Review and Create
- Review all image settings
- Click Create to start the image creation process
The snapshot must contain a bootable operating system with proper boot configuration. Non-bootable data snapshots cannot be converted to images.
Test the created image by launching a VM with it before using it in production environments.
Revert to Snapshot
The "Revert to Snapshot" action allows you to restore a volume to the state captured in a specific snapshot. This is useful for recovering from data corruption or accidental changes.
- Select the snapshot you want to revert to
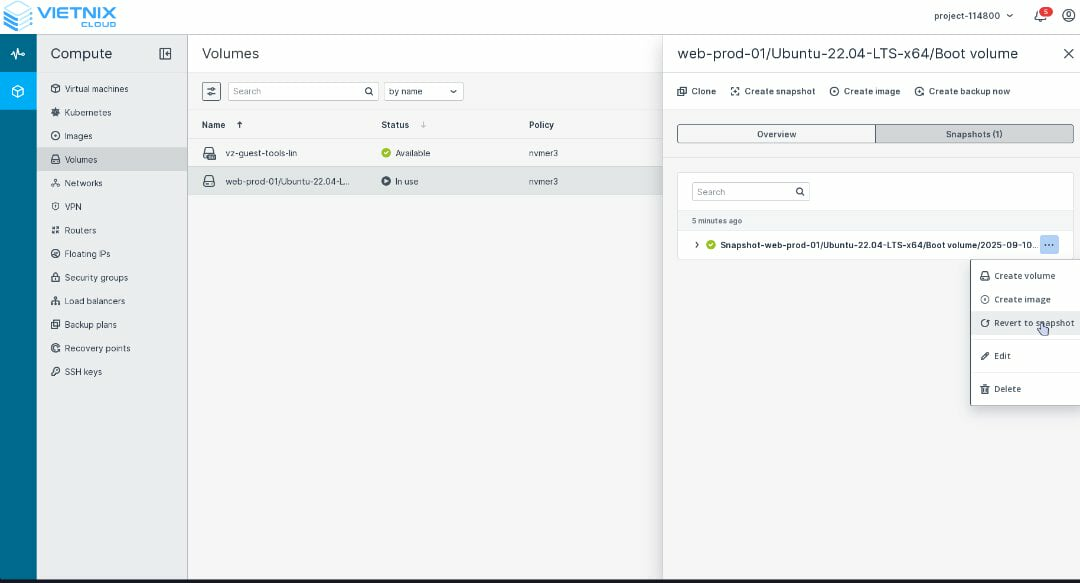
- Click Revert to Snapshot
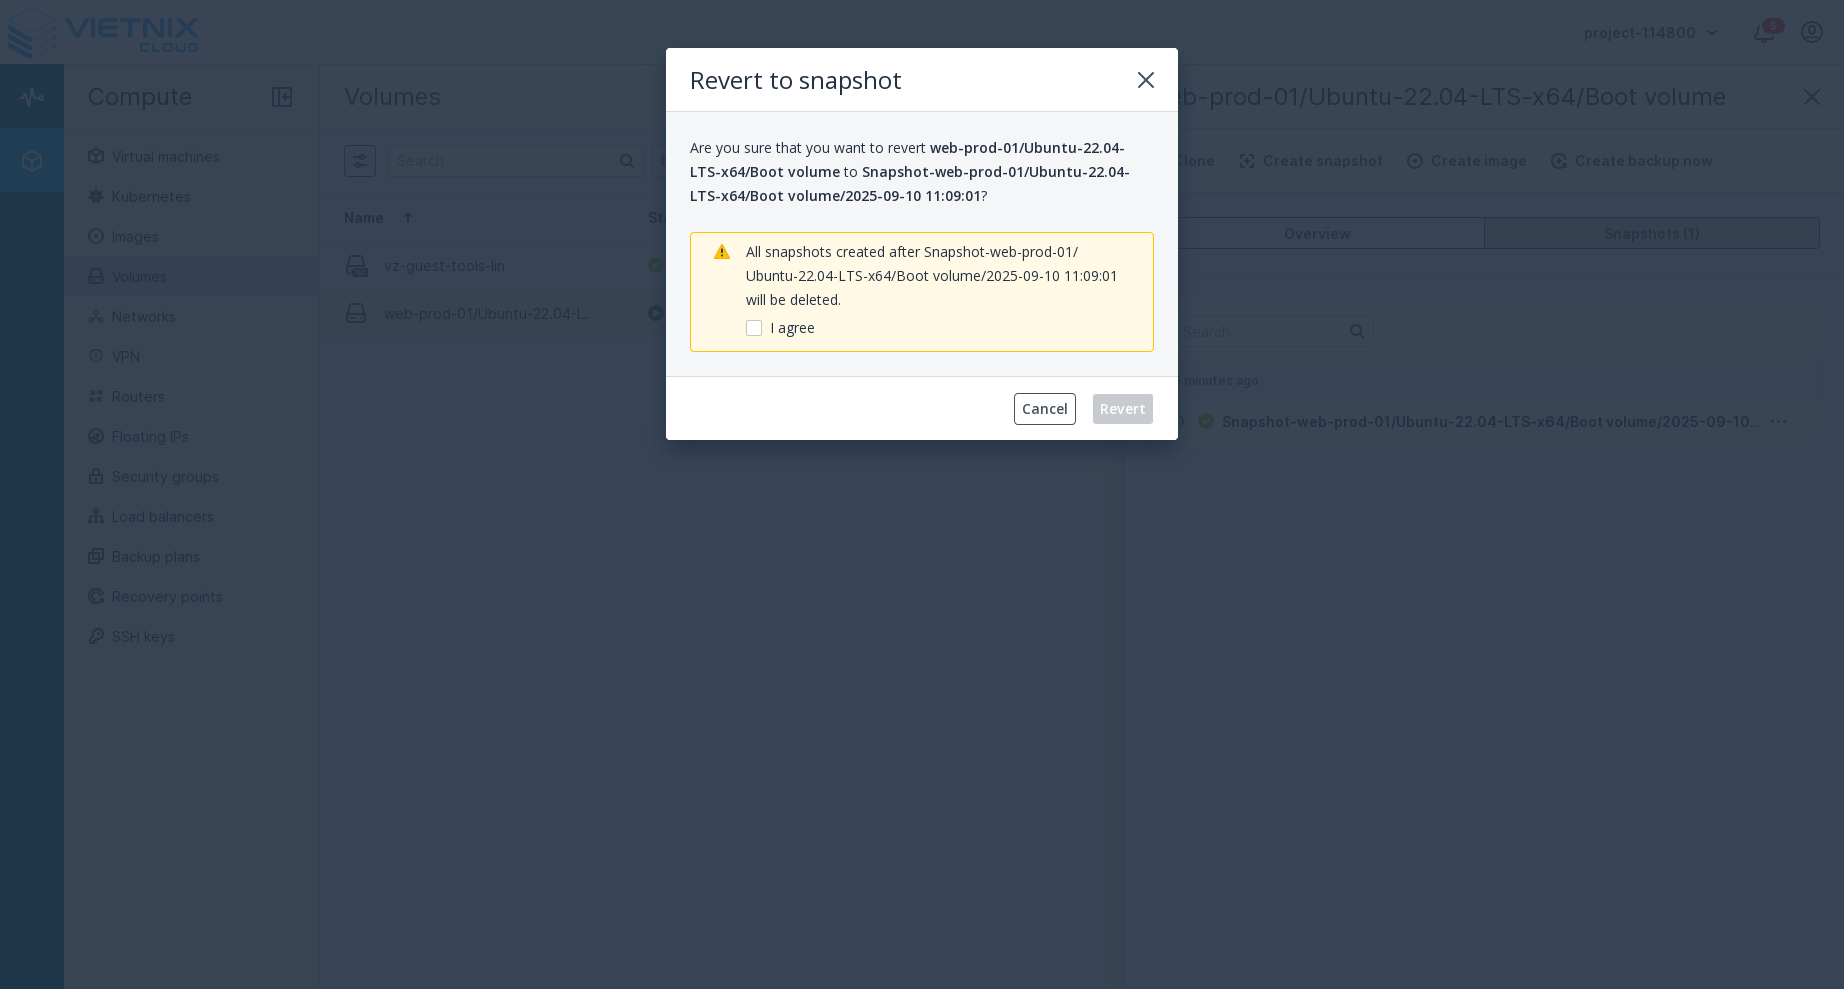
- Confirm the action and Click Revert to proceed
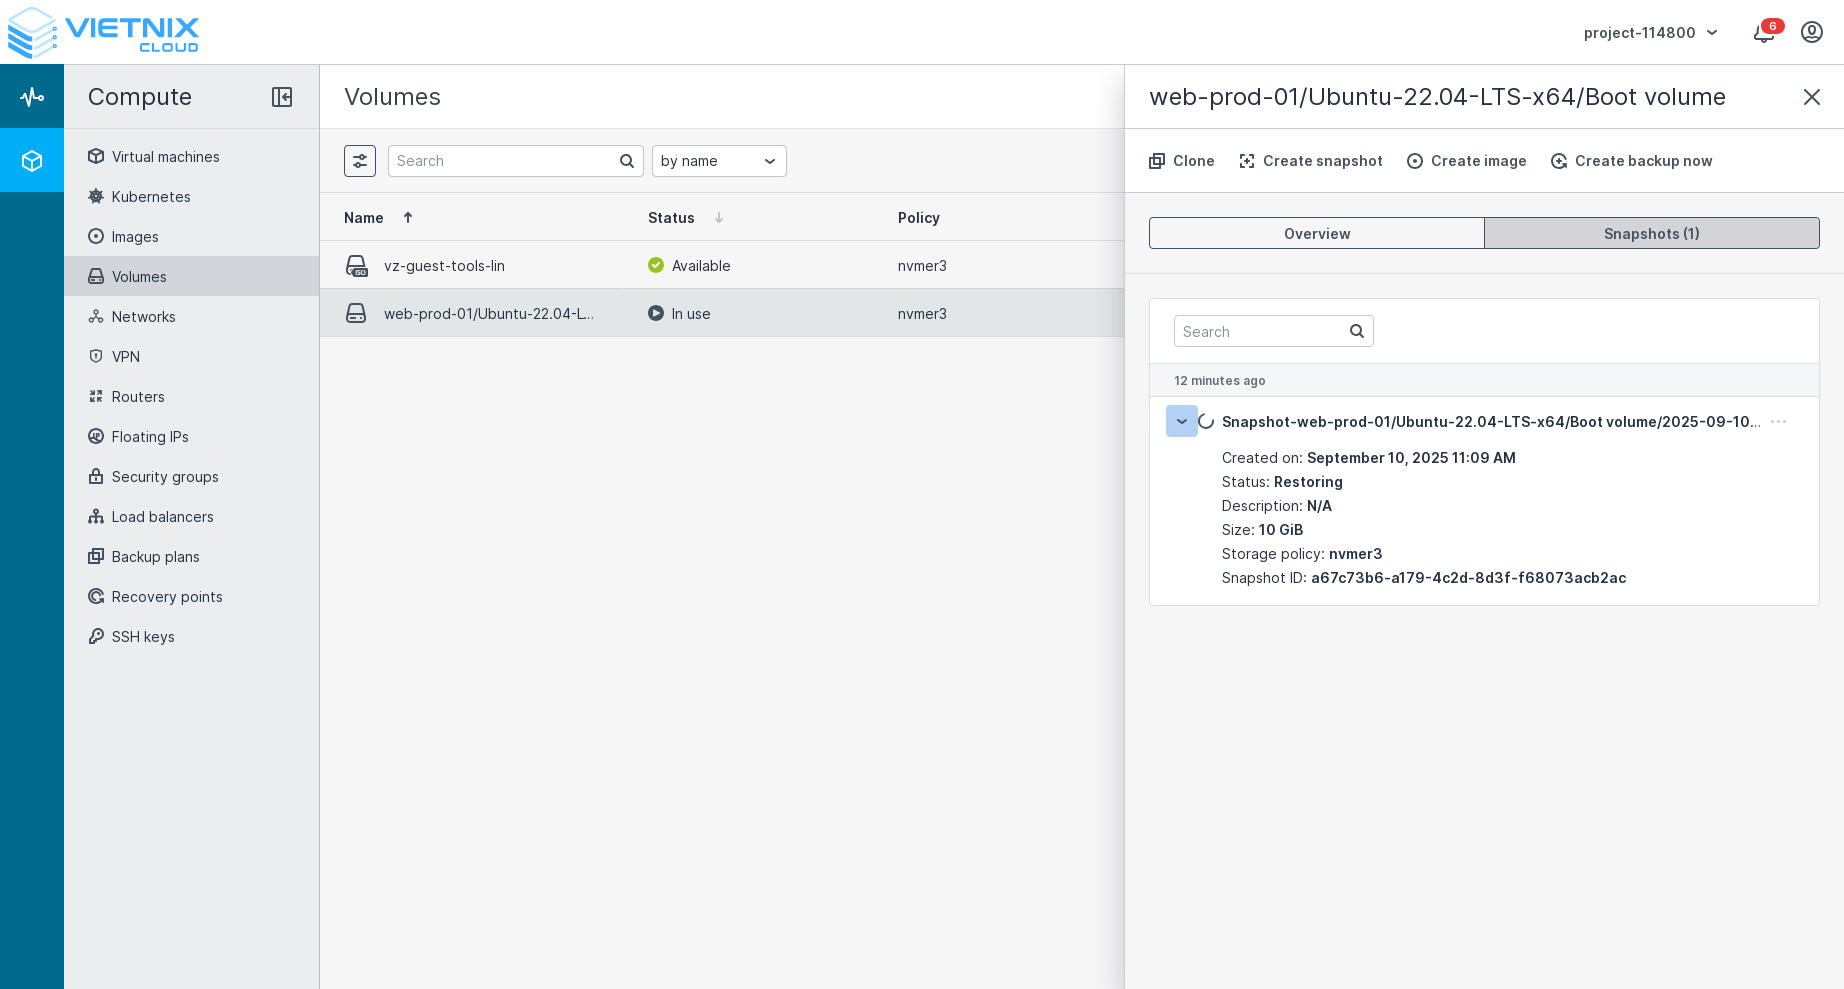
All snapshots created after the selected snapshot will be deleted. This action is irreversible and will result in data loss for any changes made after the snapshot was taken.
Ensure that the VM is shutdown, Revert to Snapshot is not supported for volumes that are currently attached to a running VM.
Ensure that you have backed up any important data before performing a revert operation.
Snapshot Limitations
- Size: Snapshots can be as large as the original volume
- Storage: Snapshots consume storage space
- Performance: Creating snapshots may impact volume performance
- Retention: Snapshots are retained until manually deleted
Cost Considerations
- Snapshots are charged based on storage usage
- Only changed blocks are stored (incremental)
- Consider deleting old snapshots to reduce costs
Troubleshooting
Common Issues
- Snapshot Failed: Check if volume is in use
- Slow Performance: Snapshots may impact volume performance
- Storage Full: Ensure sufficient storage space
Commands for Troubleshooting
# Check disk usage
df -h

# Check volume status
sudo fdisk -l

# Check for processes using the volume
sudo lsof /mnt/myvolume
If you encounter any issues, contact our support team at support.vietnix.vn
Related Resources
- Create Volume - Learn how to create a new volume in Vietnix Cloud
- Attach Volume - Learn how to attach a volume to a virtual
- Extend Volume - Learn how to extend the size of an existing volume
- Format Volume - Learn how to format a volume for use