Backup filesystem to Object Storage with Duplicati/Kopia
Vietnix Cloud provides S3-compatible object storage that can be used as a backup destination for various backup tools, including Duplicati and Kopia. This guide will walk you through the steps to configure both Duplicati and Kopia to upload server backups to Vietnix Cloud's S3 storage.
Using Duplicati to Backup to Vietnix Cloud S3
Install and Backup Configuration
-
Install Duplicati on your server. You can download it from the official Duplicati website.
Important-
For installation instructions, refer to the Duplicati documentation.
-
We recommend using option --webservice-allowed-hostnames=* to allow access from any hostname. Adjust this setting based on your security requirements.
Note- Before proceeding, ensure you have created an S3 bucket to store your backups. If you haven't done so, refer to the Vietnix Cloud S3 documentation for instructions on creating a bucket.
-
-
Open the Duplicati web interface and click on "Add backup" to create a new backup job.
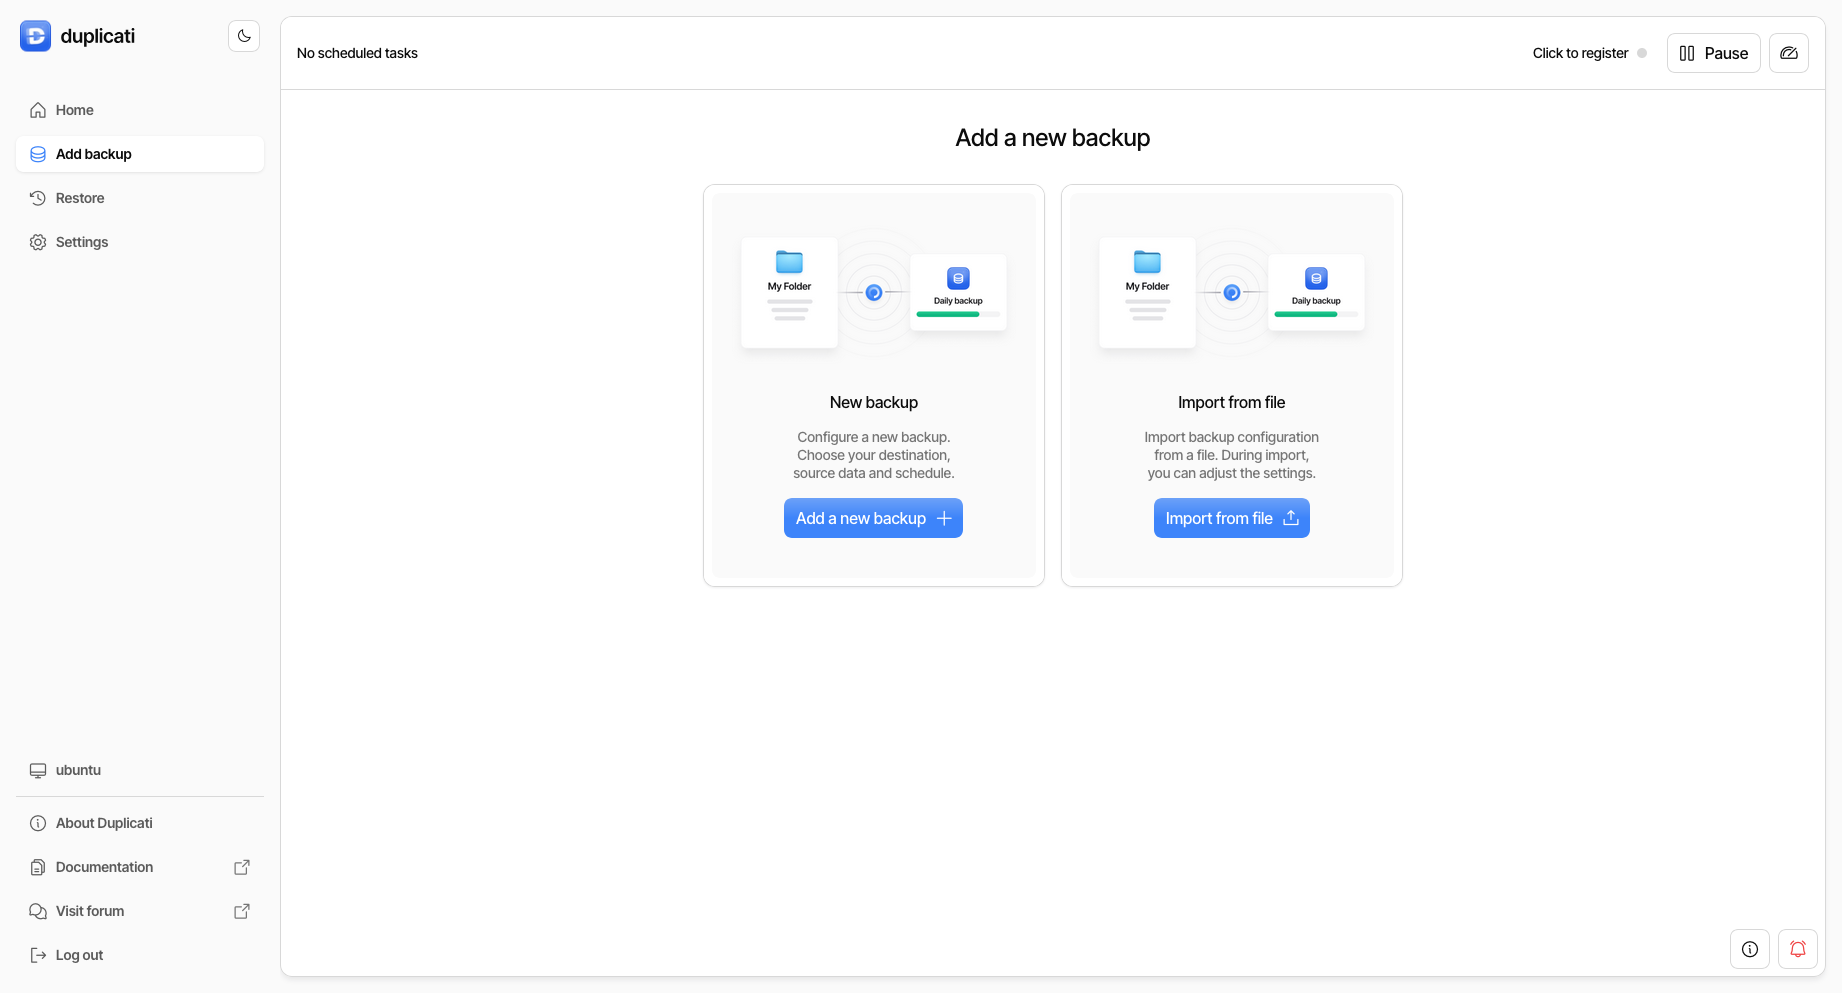
-
Choose "Configure a new backup" and click "Next".
-
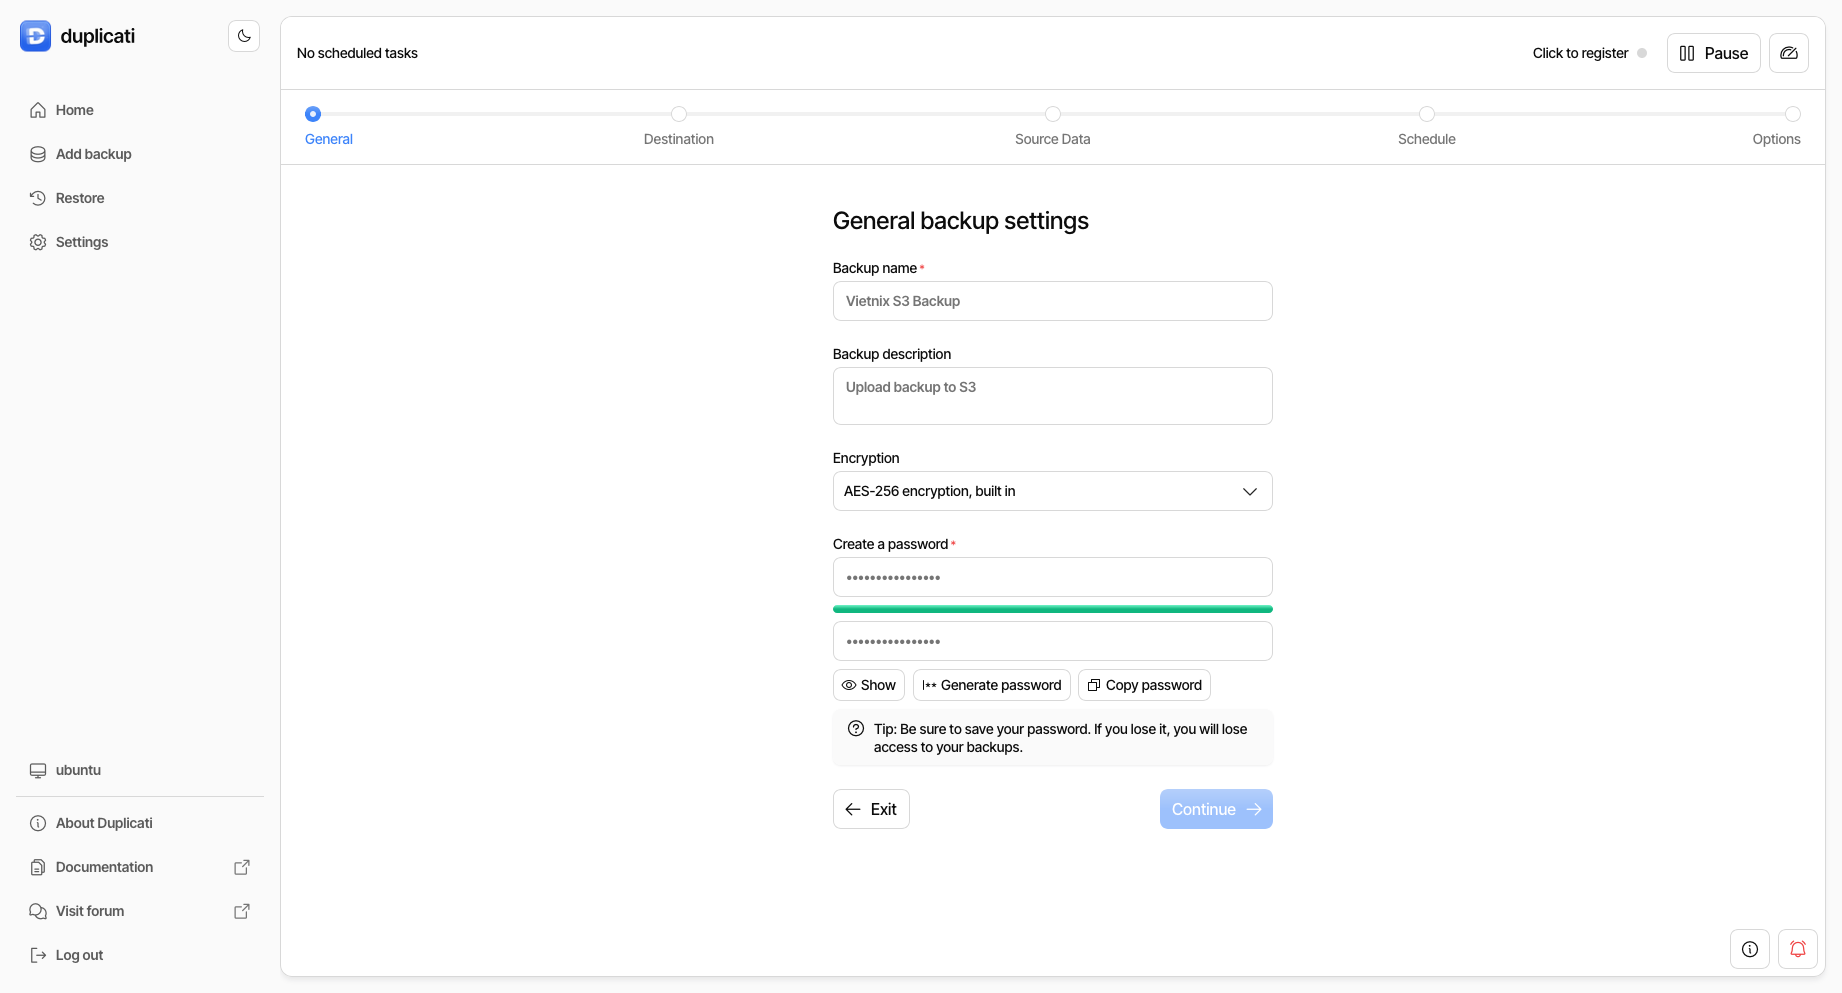
Enter a name, description, and passphrase for your backup job and click "Continue".
-
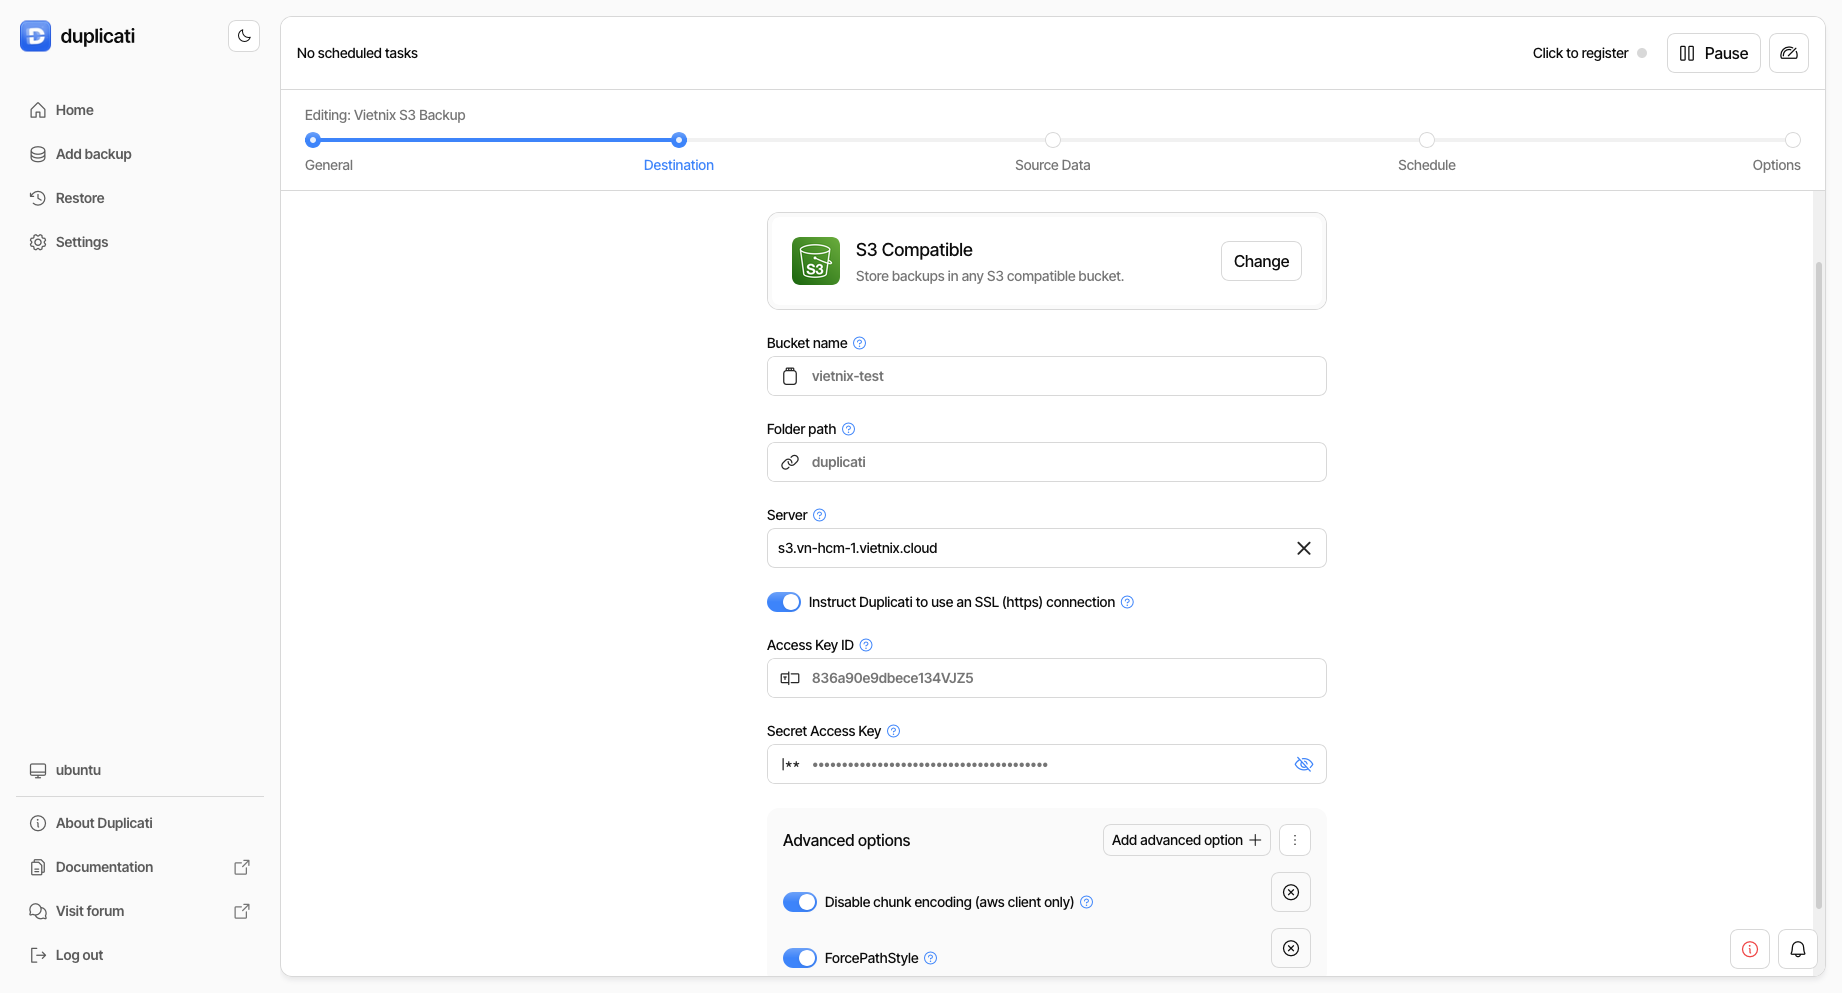
In the "Storage Type" dropdown, select "S3 Compatible".
-
Fill in the following details:
- Server URL:
s3.vietnixcloud.com - Access Key: Your Vietnix Cloud S3 access key
- Secret Key: Your Vietnix Cloud S3 secret key
- Bucket Name: The name of the S3 bucket you created in Vietnix Cloud
- Folder: (optional) Specify a folder path within the bucket
NoteEnsure that the "Use SSL" option is checked to secure your connection to Vietnix Cloud S3. Remember to test the connection to verify that Duplicati can connect to your Vietnix Cloud S3 bucket.
Important- Recommended additional options:
- Force path style: Enabled
- Disable Chunked Encoding: Enabled
- Server URL:
-
Click "Continue" and configure the backup source, schedule, and other settings as needed.
-
Save and run the backup job to start uploading your backups to Vietnix Cloud S3.
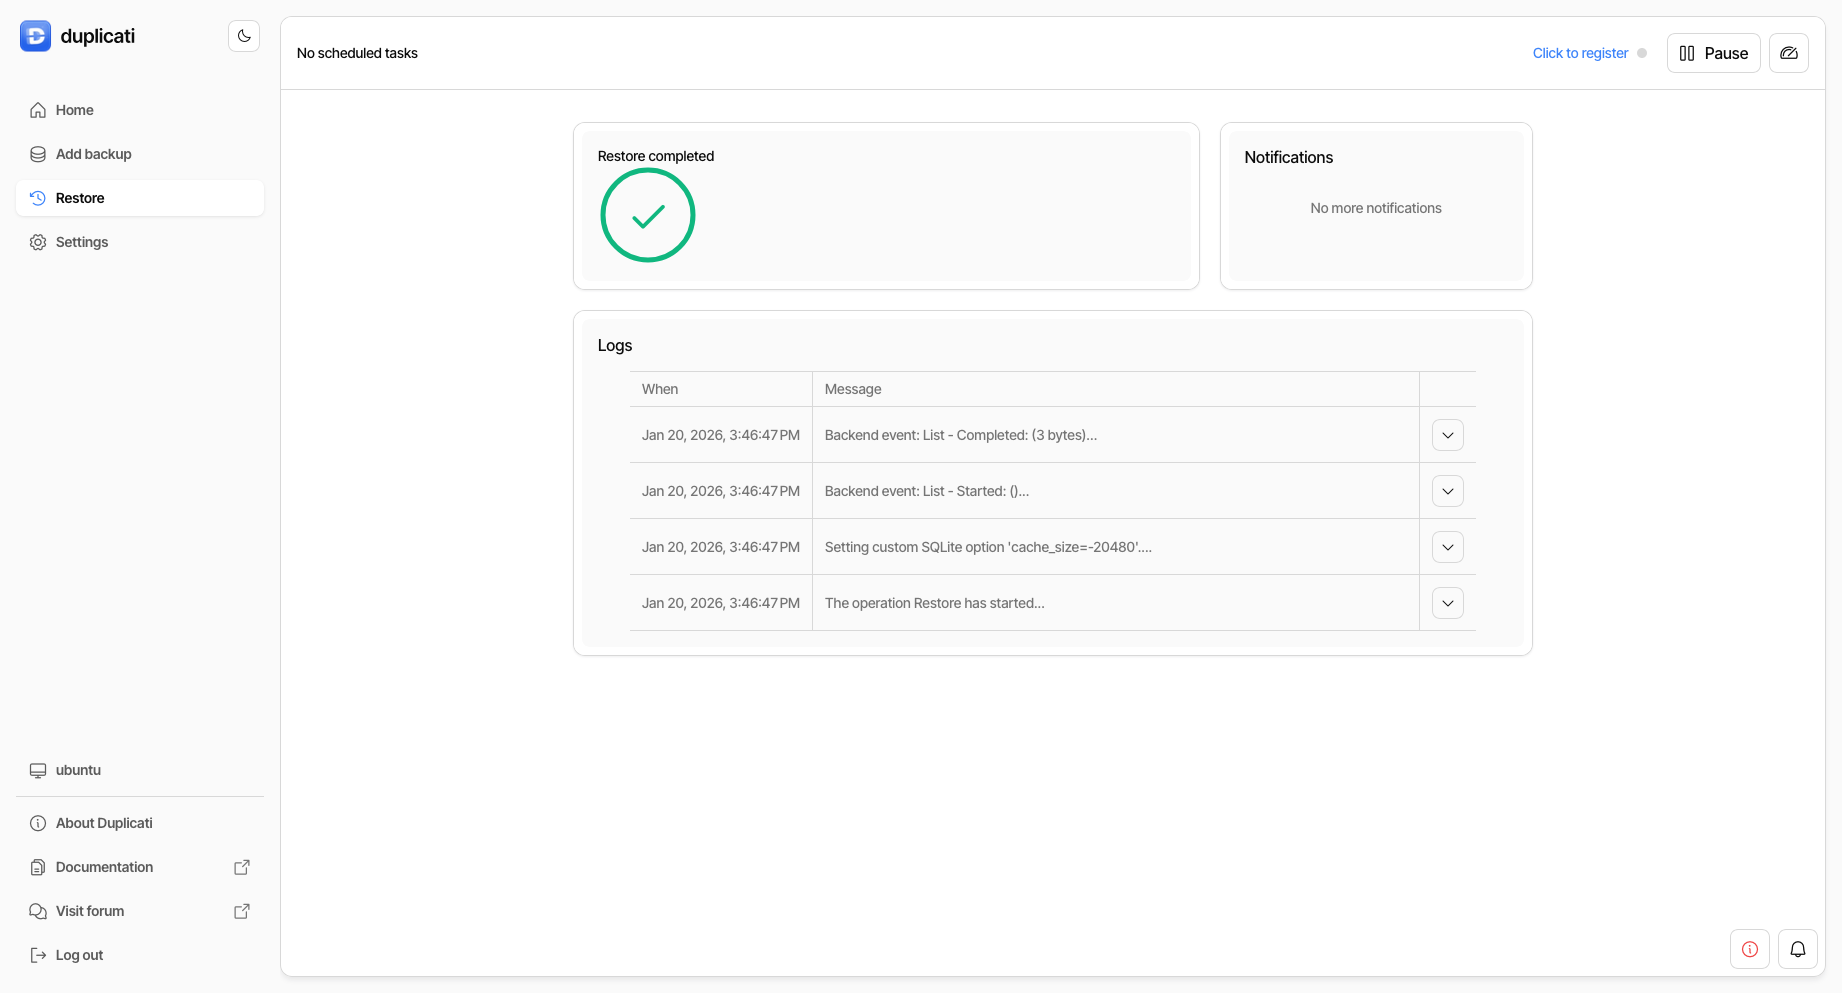
Restore from Duplicati Backup
To restore data from your Duplicati backup stored in Vietnix Cloud S3, follow these steps:
- Open the Duplicati web interface and click on "Restore".
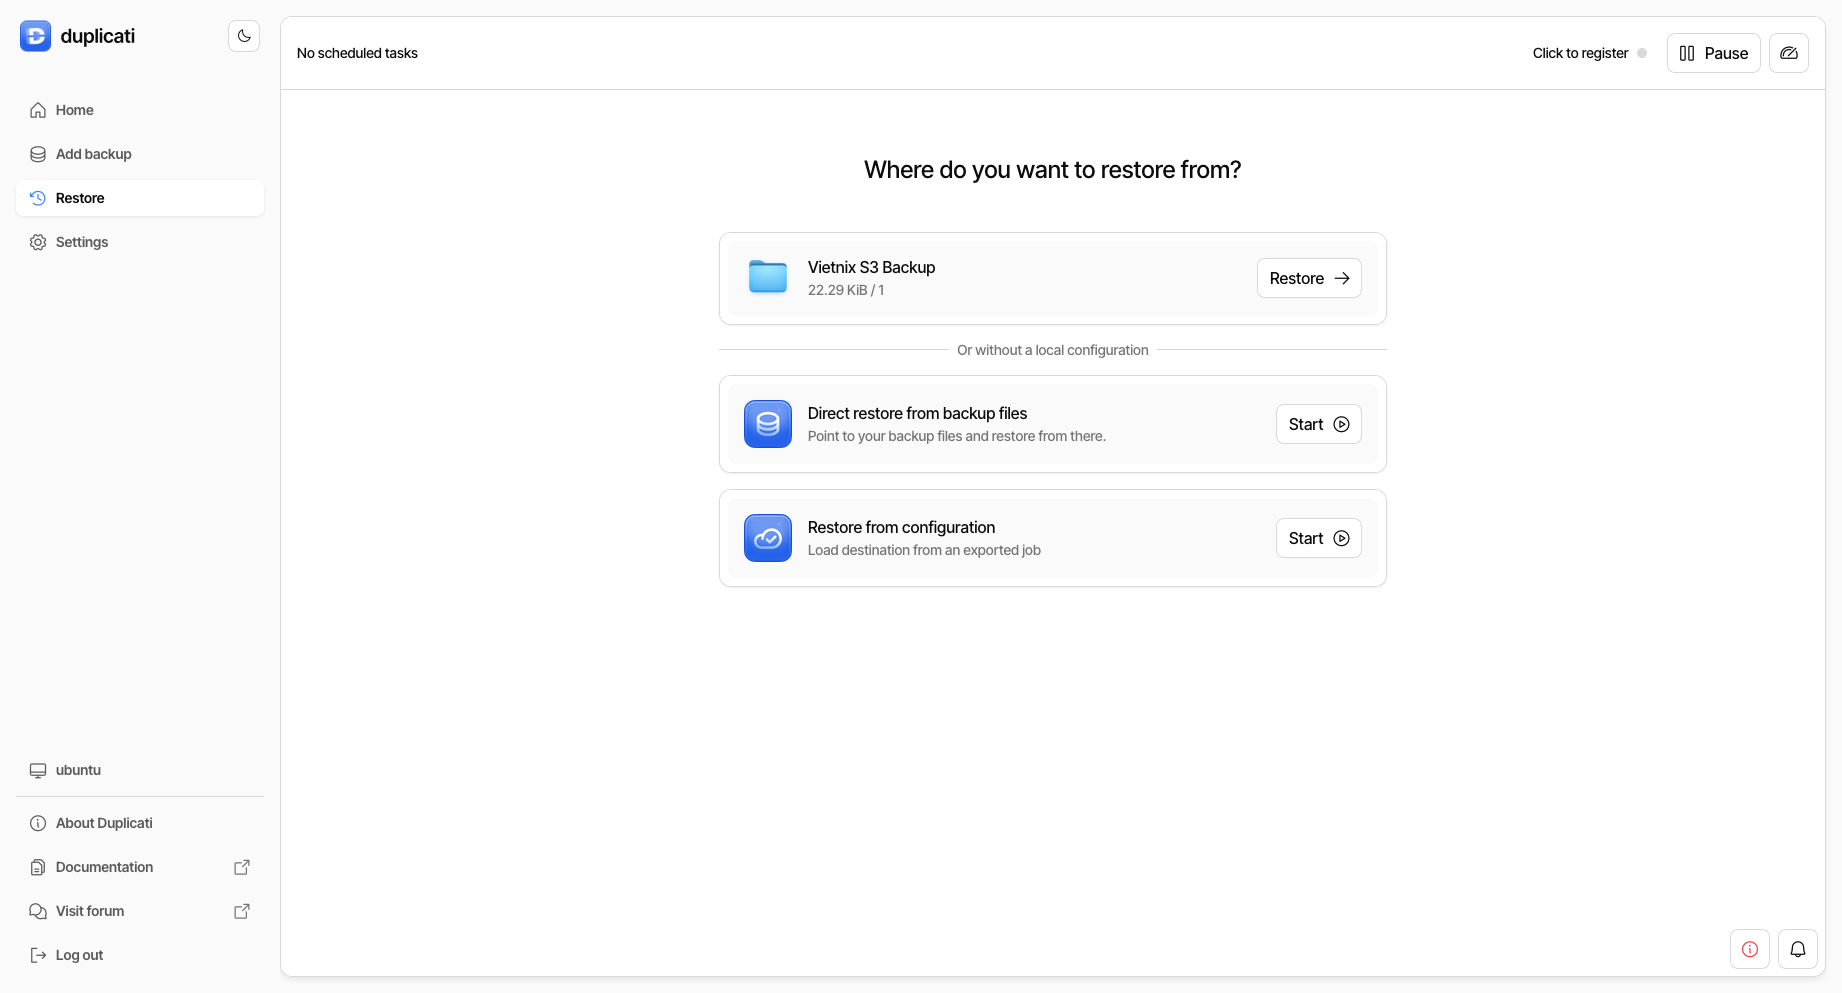
- Select the backup job you created earlier.
- Follow the prompts to select the files you want to restore and specify the restore location.
- Click "Submit" to begin the restoration process.
Using Kopia to Backup to Vietnix Cloud S3
Installation
To install Kopia, follow the instructions on the Kopia installation page.
After installing Kopia, you can use either the Command Line Interface (CLI) or the Kopia GUI to create backups and restore data.
Using Command Line Interface (CLI)
Create Snapshot
To create a backup snapshot using Kopia and store it in Vietnix Cloud S3, follow these steps:
-
Initialize a new Kopia repository using the following command, replacing the placeholders with your Vietnix Cloud S3 details:
Note- Before proceeding, ensure you have created an S3 bucket to store your backups. If you haven't done so, refer to the Vietnix Cloud S3 documentation for instructions on creating a bucket.
kopia repository create s3 --bucket <your-bucket-name> --prefix <optional-prefix> \
 --access-key <your-access-key> \
 --secret-access-key <your-secret-key> \
 --endpoint s3.vietnixcloud.com \
--use-path-styletipAfter connect to Vietnix Cloud S3, you can verify the connection by running:
kopia repository statusand it should display the repository details if the connection is successful.
You can also use the
--validate-providerflag to ensure that the S3 provider is correctly validated. -
Once the repository is created, you can start snapshotting data using the following command:
tipBefore create a snapshot, you may want to estimate the size of the snapshot by running:
kopia snapshot estimate <path>After estimating, you can proceed to create the snapshot with:
kopia snapshot create <path>
Snapshot restoration
To restore data from your Kopia backup stored in Vietnix Cloud S3, follow these steps:
-
List the available snapshots using the command:
kopia snapshot list -
Restore a specific snapshot using the command, replacing
<snapshot-id>with the ID of the snapshot you want to restore:kopia snapshot restore <snapshot-id> --target <restore-path>
Using Kopia GUI
Instead of using the CLI, you can also use the Kopia GUI to manage your backups and restorations. To start the Kopia GUI, follow these steps:
-
Run the Kopia GUI by executing:
kopia server startwith optional flags:
--address <ip-address>: Specify the IP address to bind the server: default ishttp://127.0.0.1:51515.--tls-cert <path-to-cert>and--tls-key <path-to-key>: Specify the TLS certificate and key files for secure connections, or use--tls-generate-certto generate a self-signed certificate. If TLS is enabled, access the GUI viahttps://<ip-address>:<port>. If TLS is not enabled, usehttp://<ip-address>:<port>with flag--insecure.--server-username <username>and--server-password <password>: Set a username and password for accessing the GUI.
-
Open your web browser and navigate to
http://<server-public-ip>:<port>(default port is 51515). -
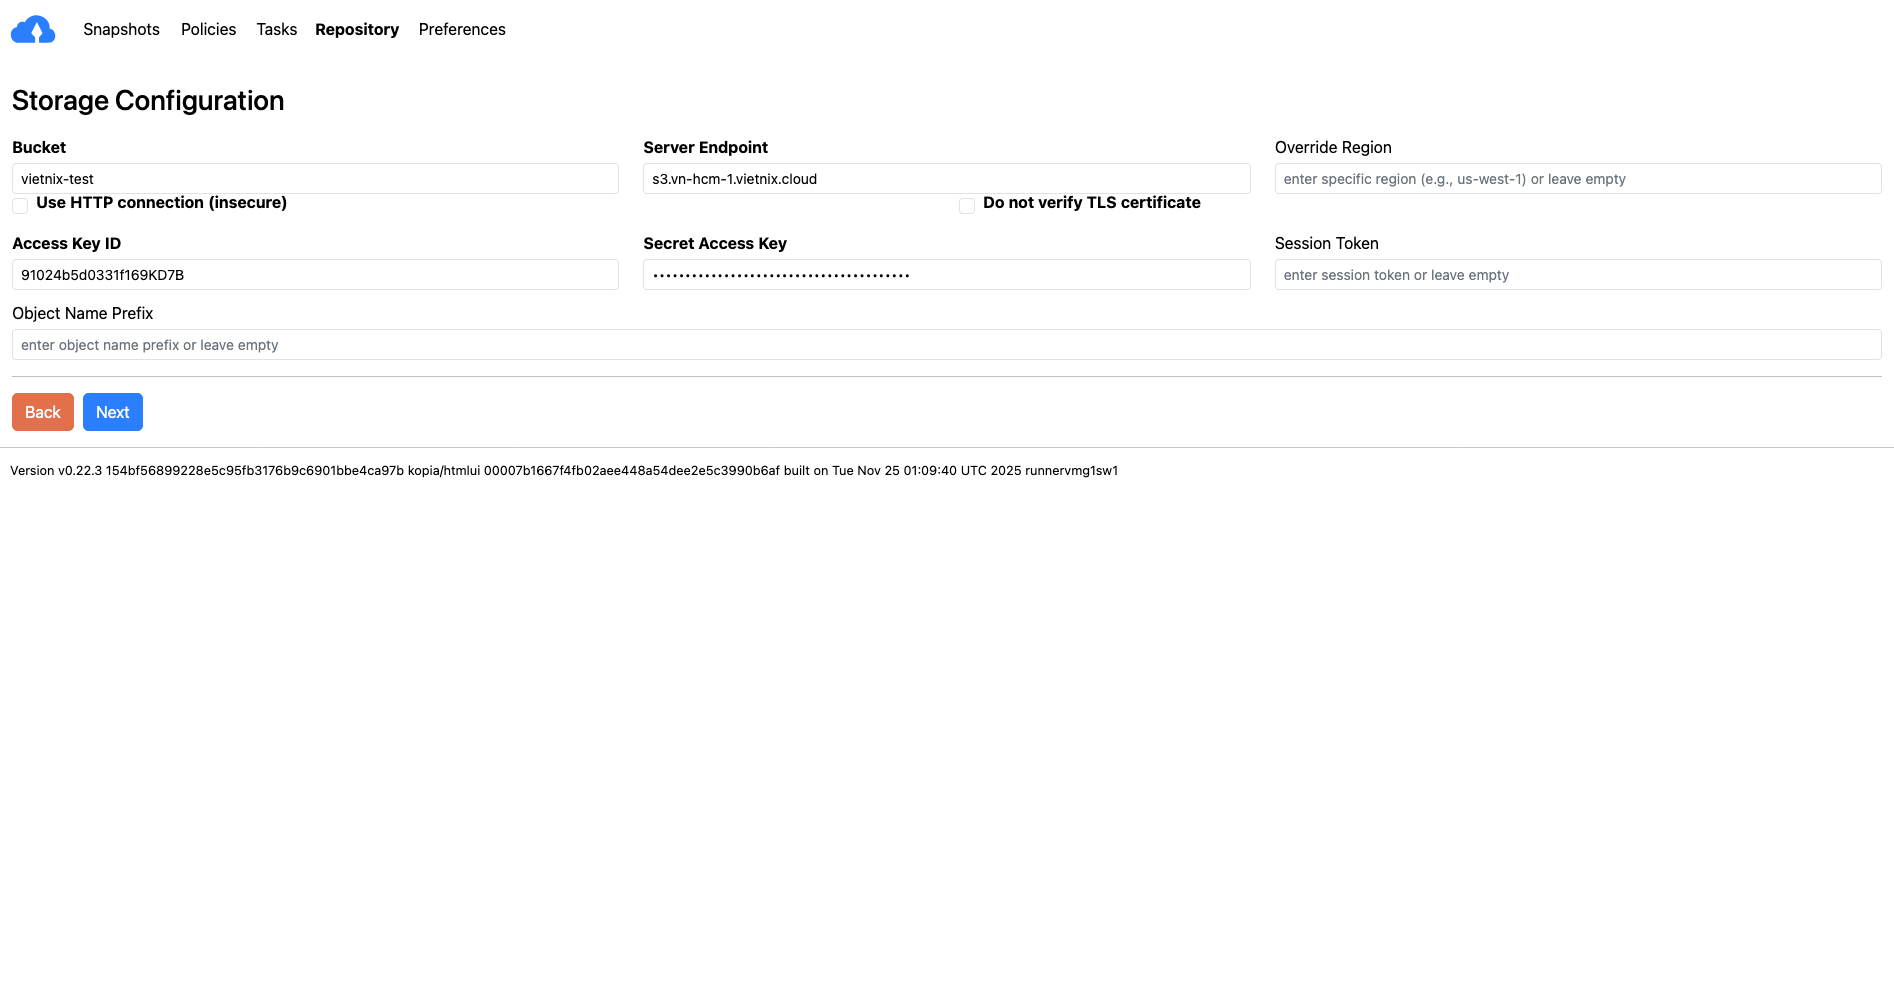
In the Kopia GUI, click on "Add Repository" and select "S3 Compatible" as the repository type.
tipIf you already have a Kopia repository created via CLI, the repository will be automatically detected when you open the GUI.
-
Fill in the Vietnix Cloud S3 details:
- Bucket Name: The name of your Vietnix Cloud S3 bucket
- Access Key: Your Vietnix Cloud S3 access key
- Secret Key: Your Vietnix Cloud S3 secret key
- Endpoint:
s3.vn-hcm-1.vietnix.cloud
-
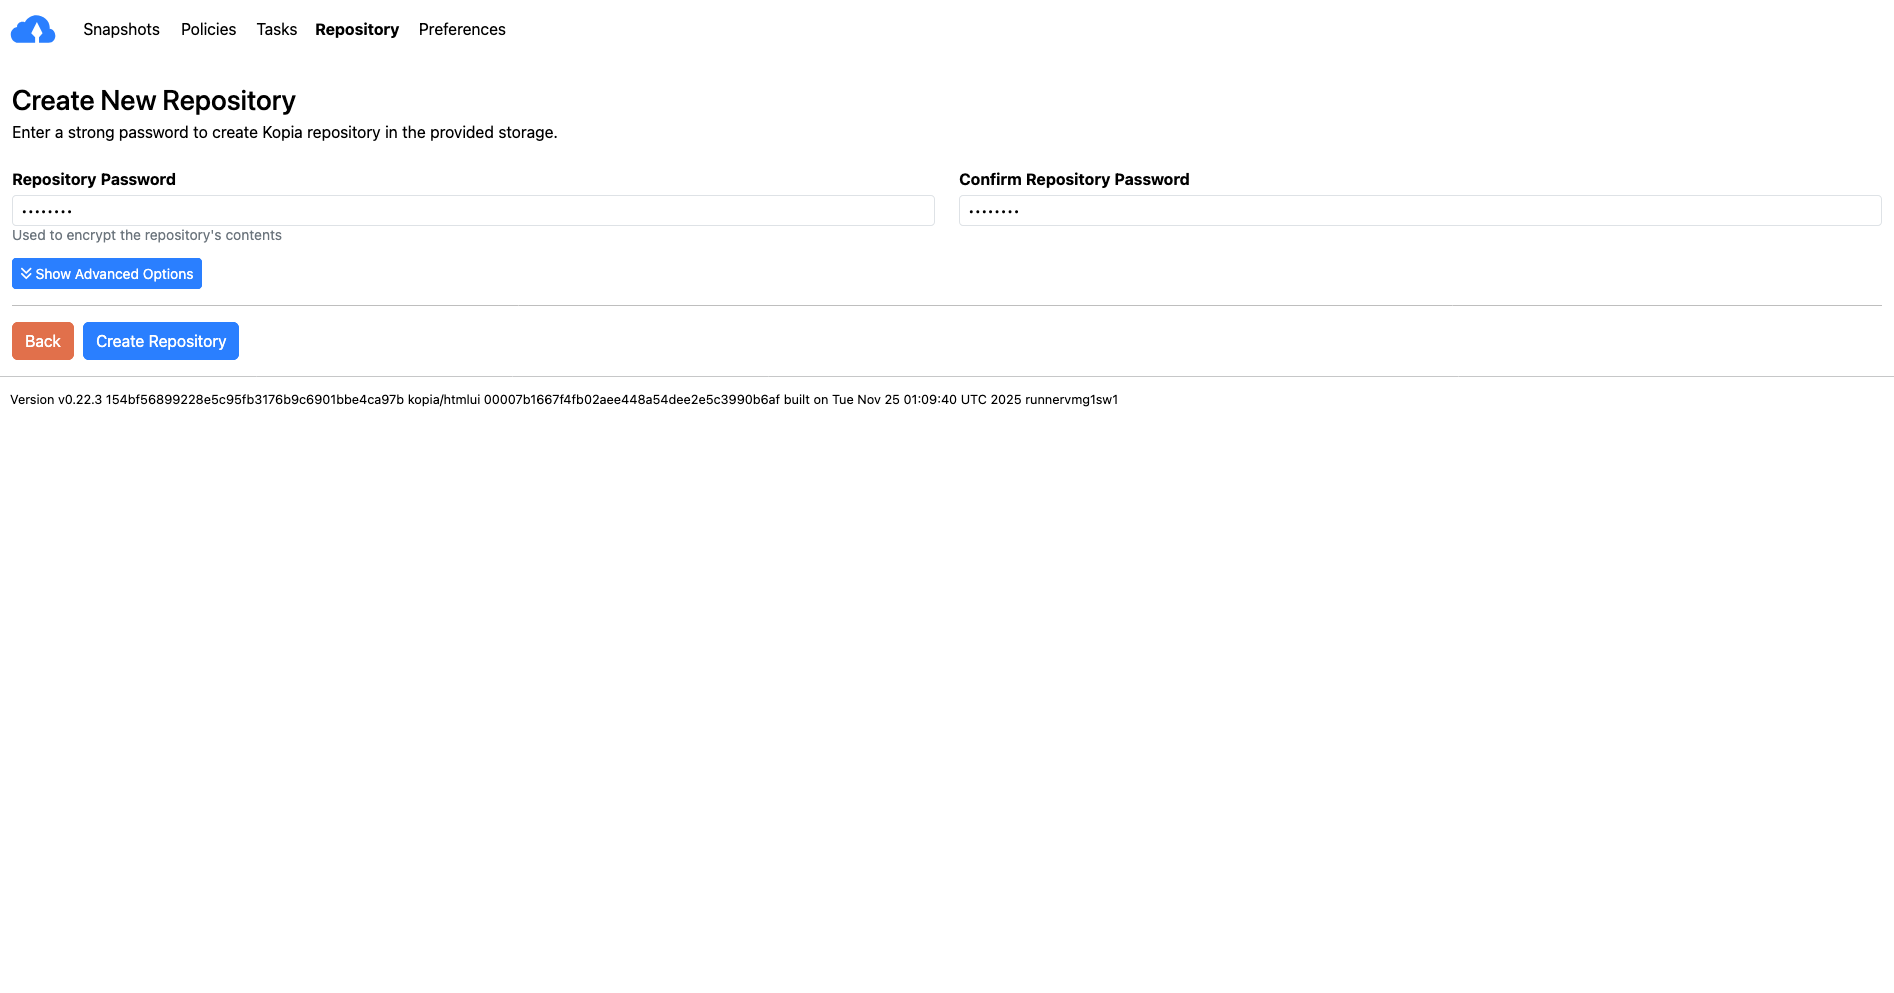
Press "Connect" to establish the connection to your Vietnix Cloud S3 bucket.
-
Input passphrase for the repository and click "Create Repository".
-
Once connected, you can create snapshots by selecting the desired files or directories and clicking on "Create Snapshot".
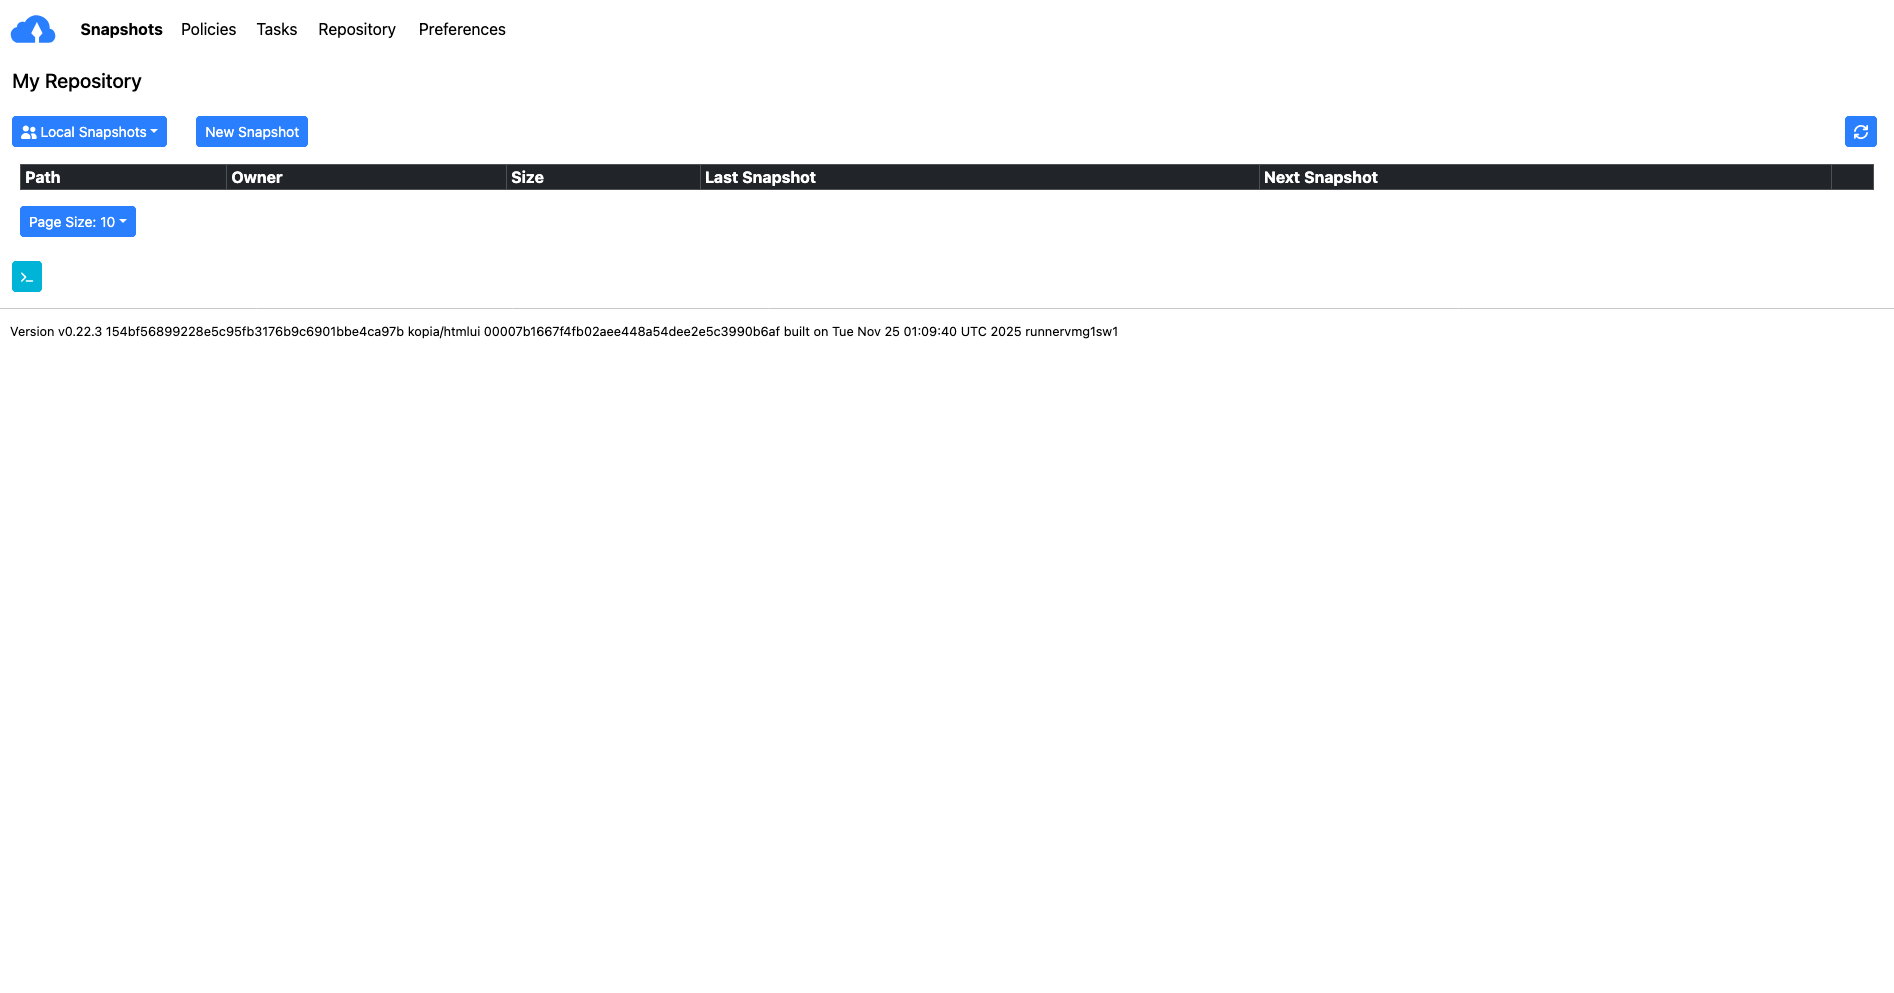
Create Snapshot With GUI
-
In the Kopia GUI, Press the "Create Snapshot" button.
-
Select the files or directories you want to back up, estimate the snapshot size if needed, and then click "Snapshot Now" to start the backup process.
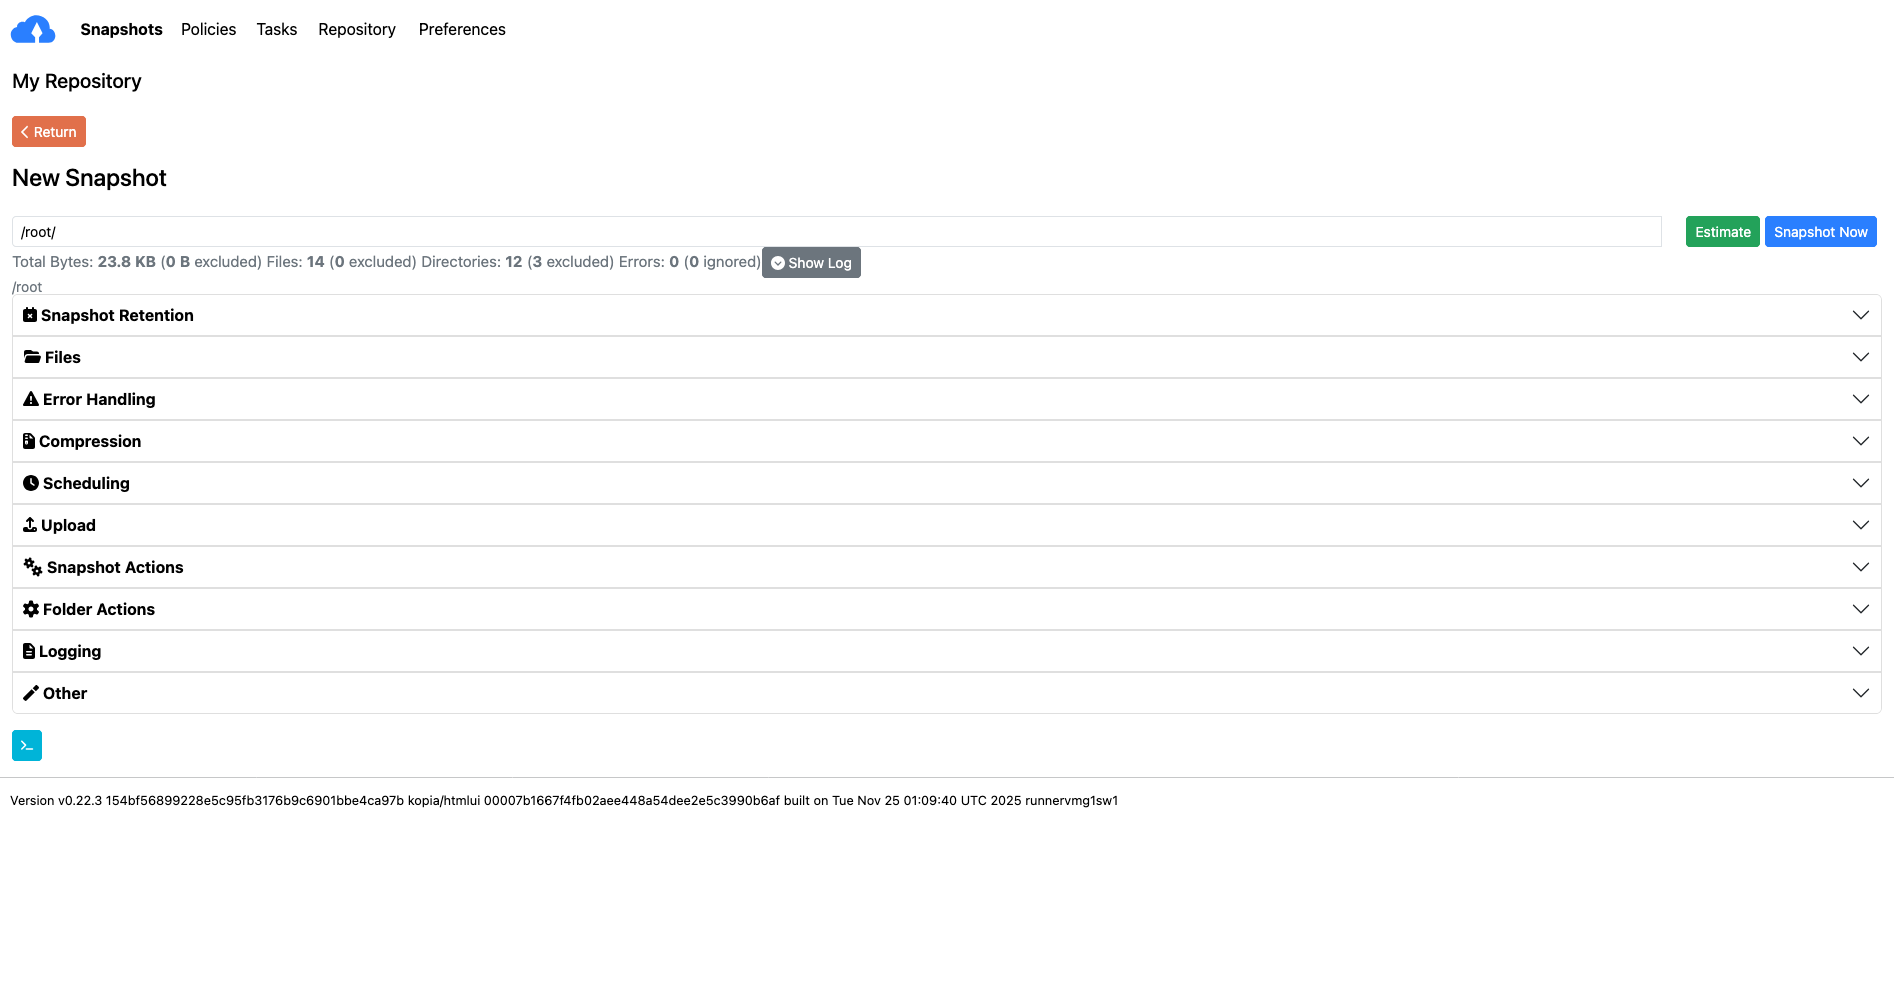 tip
tipYou can customize snapshot settings such as scheduling, retention policies, and more in the settings menu.
After the snapshot is created, you can view the backup details and manage your snapshots directly from the Kopia GUI.
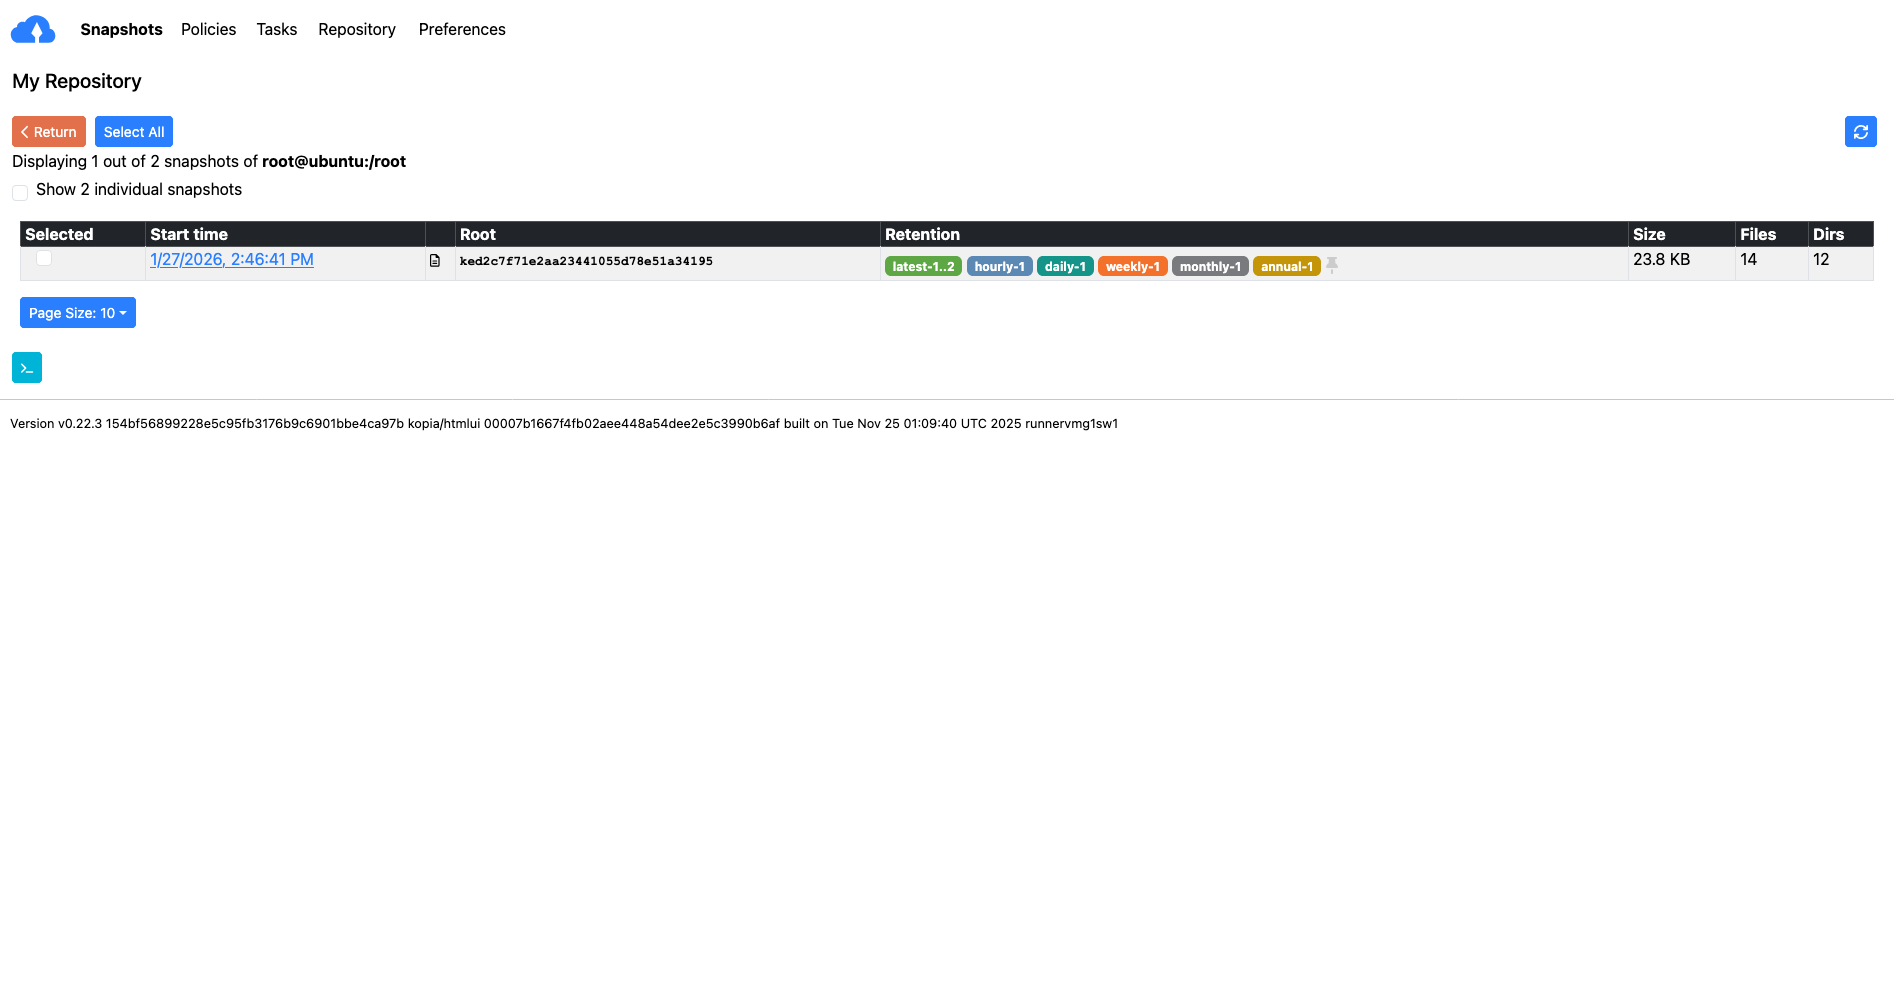
Restore Snapshot With GUI
To restore data from your Kopia backup stored in Vietnix Cloud S3 using the GUI, follow these steps:
-
In the Kopia GUI, navigate to Snapshots Details.
-
Click on the snapshot you want to restore.
-
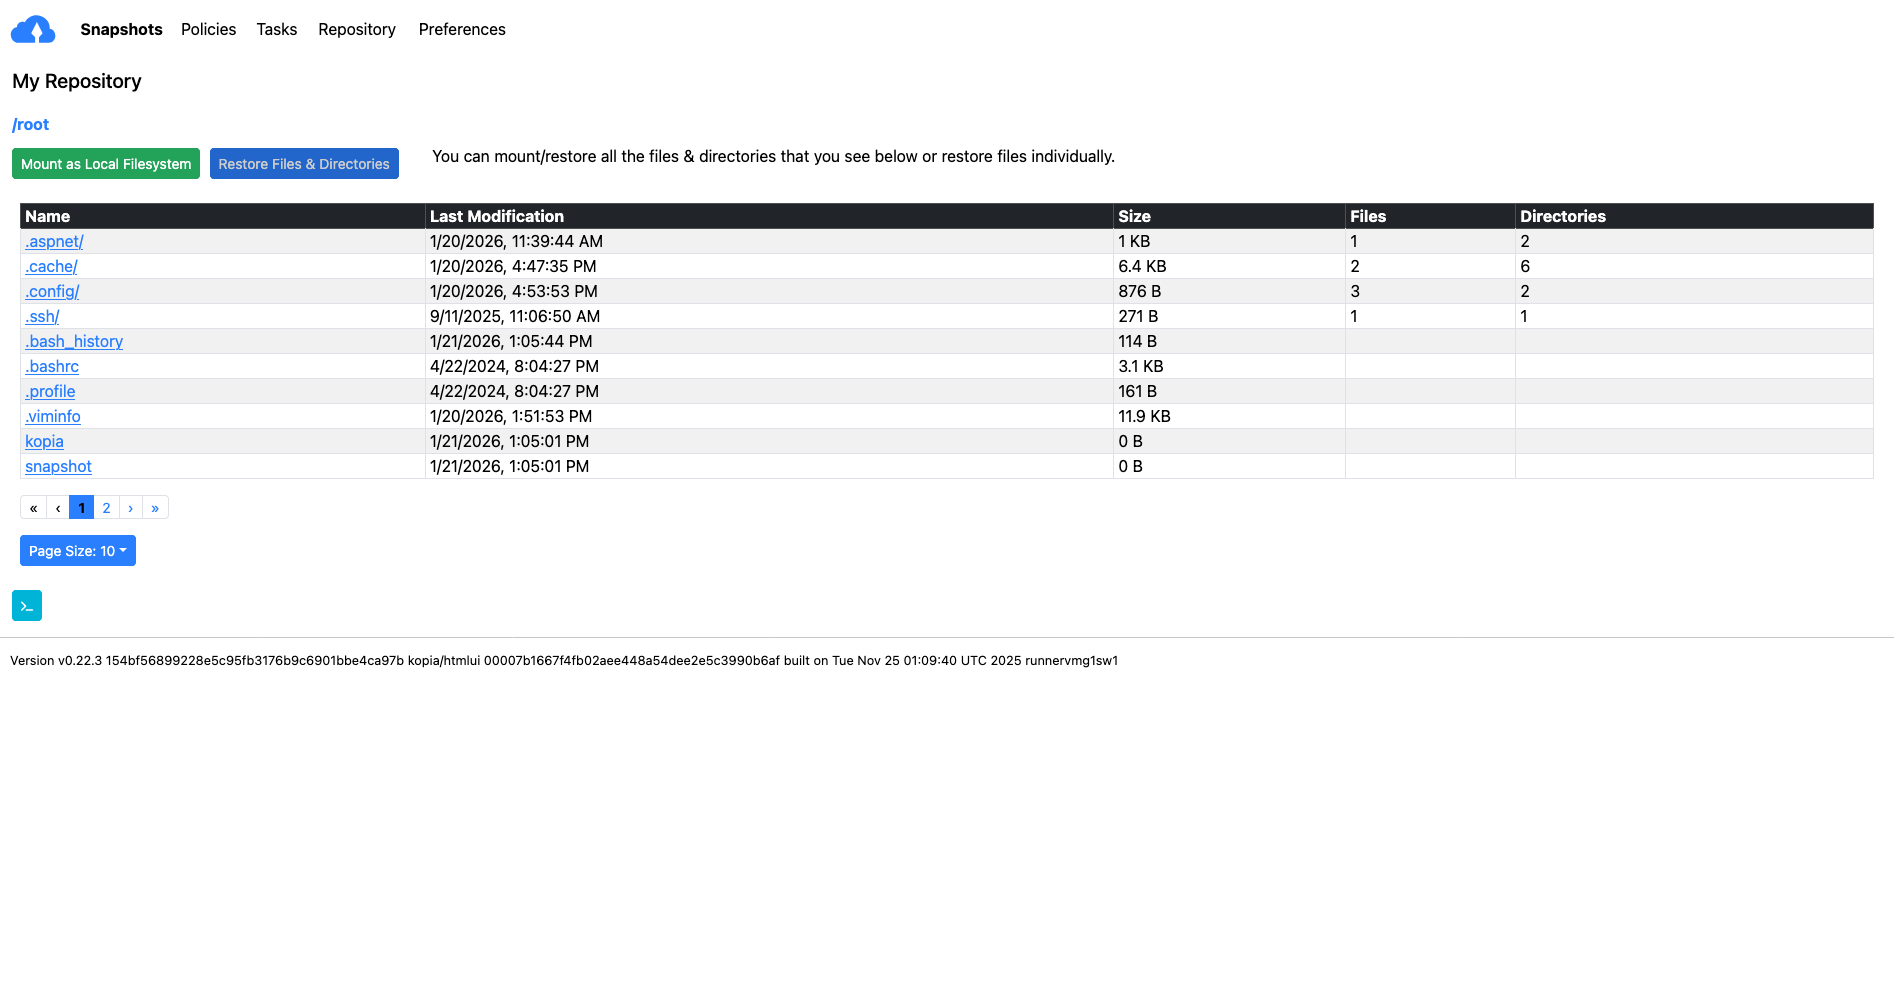
Press the "Restore File & Directories" button.
NoteYou can choose to mount the snapshot as a local file with button "Mount as Local FileSystem"
-
Select the files or directories you want to restore and specify the restore location.

-
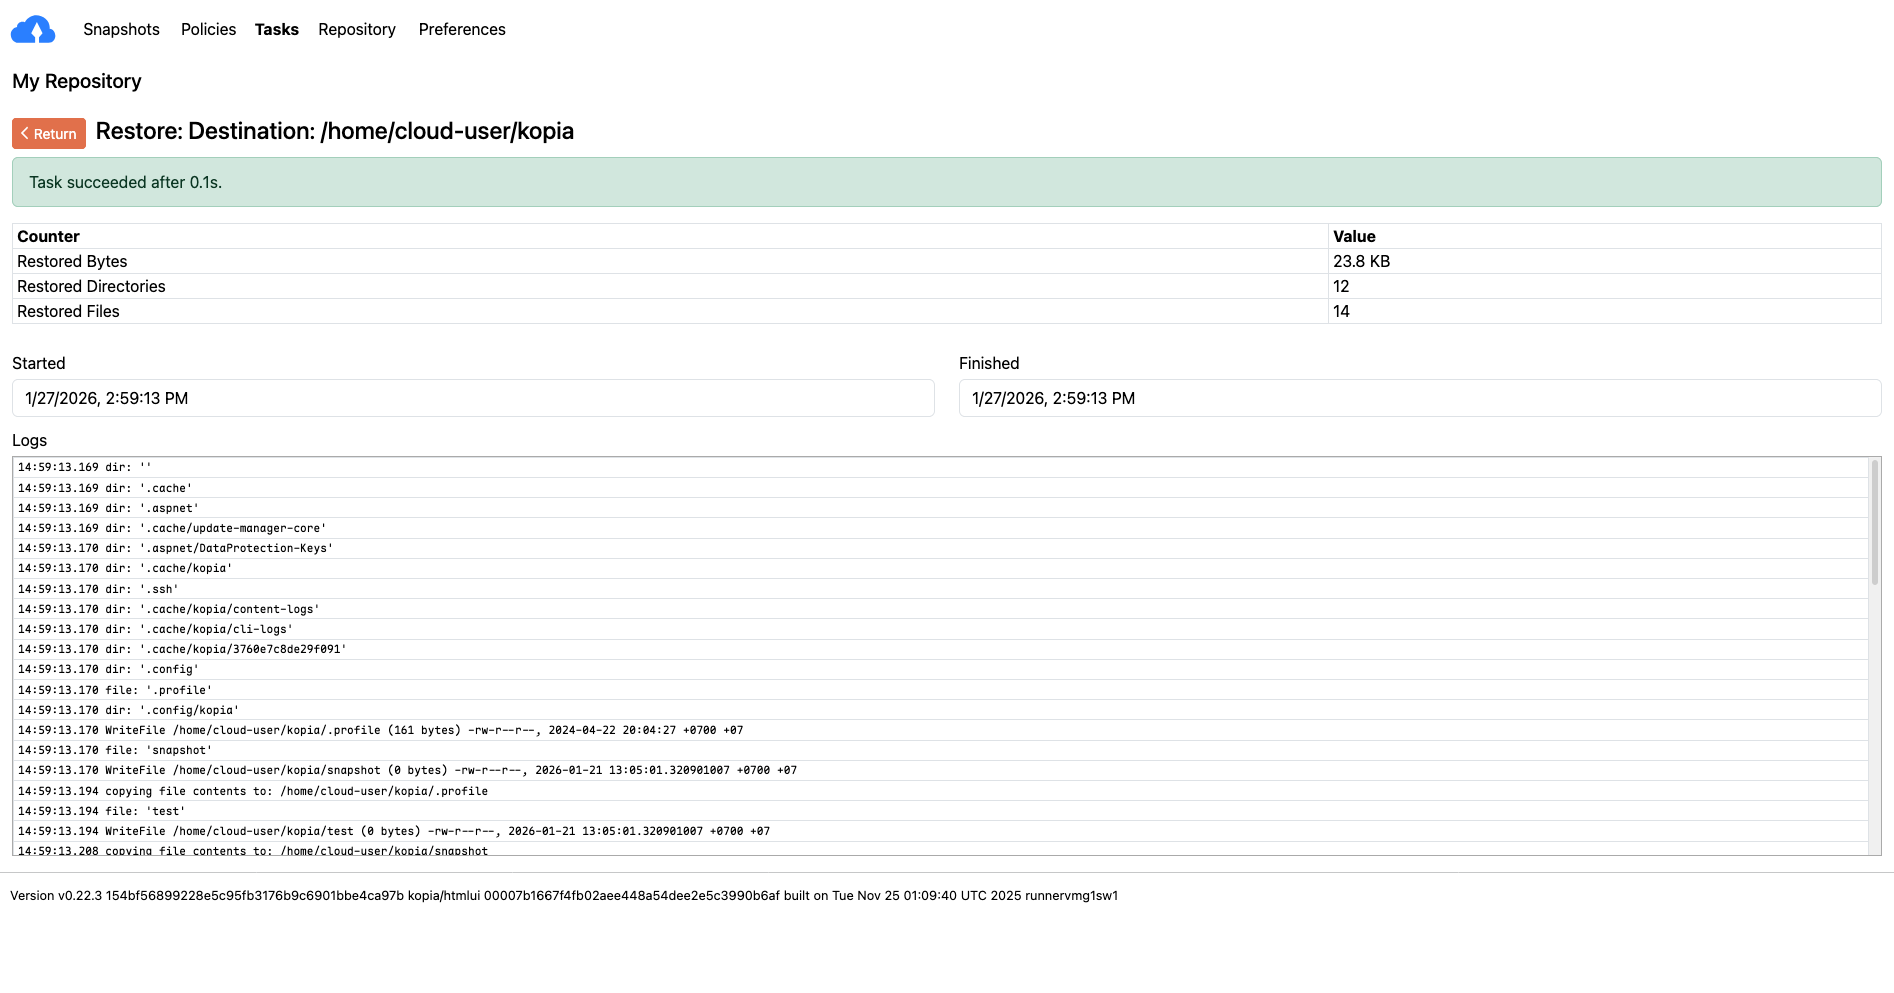
Click "Restore Now" to begin the restoration process.
You can select Tasks button on navigation menu to monitor the restoration progress.
By following these steps, you can effectively use Duplicati and Kopia to back up your server data to Vietnix Cloud's S3-compatible storage and restore it when needed.